The “Sweet Spot” with Sable Frame CineGrey® 3D Commercial Projector Screens
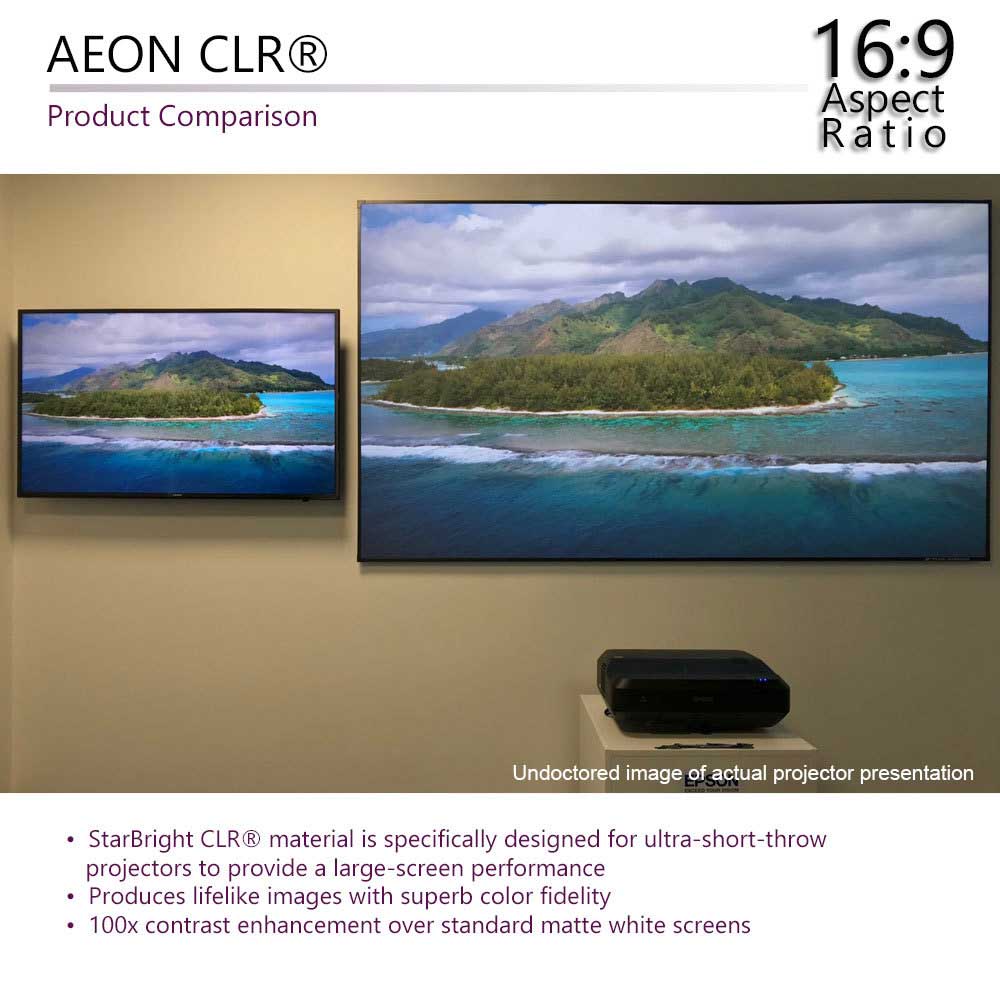
Residential and Commercial projector and screen installations often follow the same rules for optimal image performance and this is definitely true in regards to ambient room lighting. Ambient light rejecting (ALR) screens have become the norm since fewer big-screen environments involve a dark room.
The most common ALR screens are typically angular reflective and that means that if the mounting the projector or screen either too high or too low it may have a negative effect on picture performance. New innovations in building design means that ceiling heights may be atypical from the 8-12-foot ceilings commonly used in residential architecture. Although has worked hard to produce materials that provide superb performance even with off-axis projection, here are some pointers on getting the absolute industry-best performance levels from your projector and screen. With all this in mind, what would be the ideal “sweet spot” for the projector and screen in regards to the room’s seating arrangement. This video entails the value of ALR (Ambient Light Rejecting) and CLR (Ceiling Light Rejecting) materials and their proper placement in the home theaters and media rooms of today.
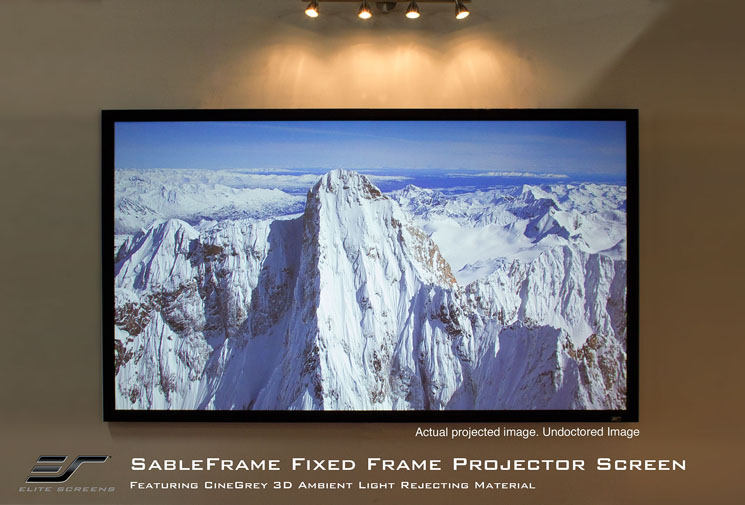
For further reference on the product itself the ALR screen selected for this video is the Sable Frame C3D (ER100DHD3).

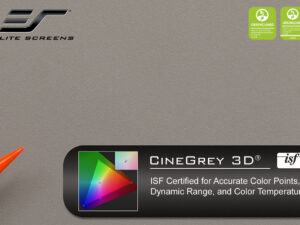
Enter the Sable Frame Cinegrey 3D® (ER100DHD3)
In this demonstration, we are using Elite’s Sable Frame Cinegrey 3D® ambient light rejecting screen.

Matte white materials are unsuitable for use in normal room lighting since the image will be washed out by ambient light. The Cinegrey 3D® material mitigates wash-out effect to give you a bright picture. However, the best way to get the most performance from your projector and screen is to:
- Make sure your screen is at its optimal height.
- Align your projector’s vertical axis so that your eyes are within the angle of getting the most brightness.
Finding the “Sweet Spot” for optimal video performance
The Ideal projection screen height setting is to have the viewer’s eyes align about 1/3 of the way up from the bottom of the screen. For a seated audience, this point of focus is roughly 42-48” from the floor-up.
The ideal viewing distance from the screen surface is at about 3-times the screen’s height.
This is the most optimal for head and neck alignment and will ensure that the viewer gets the most from the picture.

(Animation of Projector alignment)
Although it may be difficult to see the diminished brightness if you are vertically off axis, it’s still best to follow these guidelines for maximum effect.
Ceiling-mounted projectors will typically align with the top of the screen and throw within a 30° angle of incidence to the screen’s center. If the projector is placed too high, the bottom of the picture will come up dull.

A table-mounted projector should align with shooting from the viewer’s seated torso level just over the viewer’s head. This will ensure that the angle of incidence to the screen’s center is generally within 30°. Setting the projector far too low will inevitably give you duller image quality near the top of the screen.

Your projector height setting is crucial but it’s not rocket science to get it right. Following the basic steps will ensure picture perfect quality with your installation.
-DR