How to Install a Wall-Mounted Projector Screen in Your Home
Transform your movie nights at home with a wall-mounted projector screen. Creating your own personal cinema experience has never been easier. In this step-by-step guide, we will walk you through the process of installing a wall-mounted projector screen in your home, so you can enjoy a breathtaking display in the comfort of your own living room. If you wish to elevate your experience, you can even opt for ambient light-rejecting screens (ALR).
In this article, we will cover everything you need to know, from choosing the right screen size and location to mounting the screen securely on your wall. We’ll also provide useful tips on positioning, screen calibration, and optimizing the projection quality.
Say goodbye to crowded movie theaters and hello to a cinematic experience right in your own home. Let’s get started on creating your ultimate home theater with a wall-mounted projector screen.
Choosing the right location for your wall-mounted projector screen
Before you begin the installation process, it’s important to choose the right location for your wall-mounted projector screen. Consider the following factors:
- Room lighting: Ideally, the room should have controlled lighting. Avoid rooms with large windows or excessive natural light, as it can interfere with the projection quality. If you can’t control the lighting, consider investing in blackout curtains or blinds to create a darker environment.
- Viewing distance: Determine the optimal viewing distance based on the screen size and the seating arrangement in the room. The general rule of thumb is to sit approximately 1.5 times the screen width away from the screen for the best viewing experience. Take into account the room dimensions and the placement of furniture to ensure everyone has a clear view of the screen.
- Wall surface: The wall where you plan to mount the projector screen should be smooth and free of any imperfections. Avoid textured walls, as they can distort the projected image. If necessary, you can use a wall primer or filler to create a smooth surface.
Once you have identified the ideal location, it’s time to measure and prepare the wall for installation.
Measuring and preparing the wall for installation
To ensure a seamless installation, you’ll need to measure the wall and make some preparations before mounting the projector screen. Follow these steps:
- Measure the height and width of the wall where you plan to install the screen. Use a measuring tape to get accurate dimensions. Take note of these measurements, as they will help you choose the right screen size later on.
- Clean the wall surface to remove any dust or debris. Use a damp cloth or sponge to wipe down the wall, paying close attention to any areas that may have accumulated dirt or grime. Allow the wall to dry completely before proceeding.
- Inspect the wall for any imperfections or damage. If you notice any cracks, holes, or uneven surfaces, it’s important to address these issues before proceeding with the installation. Use a filler or putty to repair any holes or cracks, and sand down any rough areas to create a smooth surface.
Once the wall is clean and prepared, you can move on to installing the mounting brackets for the projector screen.
Installing the mounting brackets for the projector screen
The mounting brackets are what will hold the projector screen securely on the wall. Follow these steps to install the brackets:
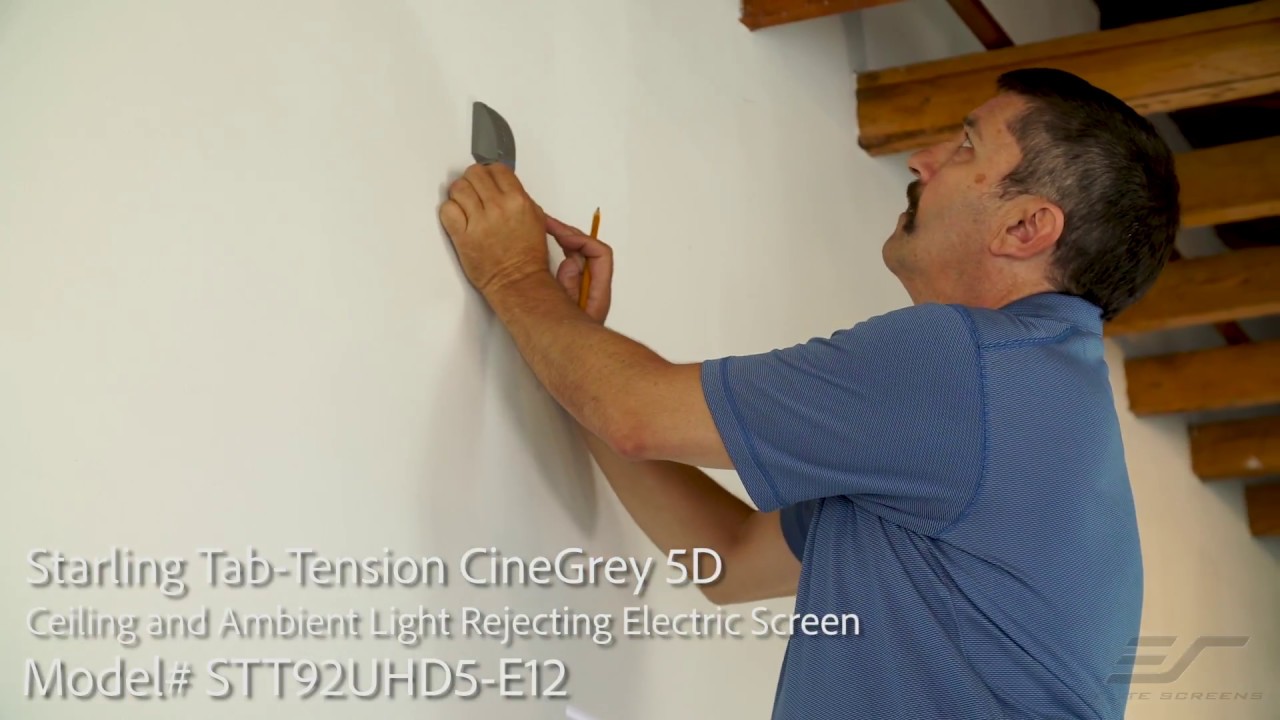
- Determine the desired height of the screen and mark it on the wall using a pencil. Use a level to ensure the marks are straight and evenly aligned.
- Position the brackets on the wall according to the manufacturer’s instructions. Make sure they are aligned with the marked height and evenly spaced.
- Use a drill to create pilot holes for the screws. The size of the drill bit will depend on the type of screws provided with the mounting brackets. Be careful not to drill too deep or too wide, as this can weaken the wall.
- Attach the brackets to the wall using the screws provided. Use a screwdriver or a power drill to tighten the screws, ensuring a secure fit.
Once the brackets are securely installed, you’re ready to attach the screen.
Attaching the screen to the mounting brackets
Attaching the screen to the mounting brackets is a straightforward process. Follow these steps:
- Identify the top edge of the screen. Most projector screens have a designated top edge marked by a label or indicator.
- Carefully lift the screen and align the top edge with the brackets. Ensure that the screen is centered and level. Double-check the alignment before proceeding.
- Once the screen is in position, secure it to the brackets according to the manufacturer’s instructions. This may involve sliding the screen into the brackets or using screws or clips to hold it in place.
- Test the stability of the screen by gently pulling on it from different angles. It should be firmly attached to the brackets and not wobble or move.
With the screen securely attached to the mounting brackets, it’s time to connect the projector.
Connecting the projector to the screen
To complete your home theater setup, you’ll need to connect the projector to the screen. Follow these steps:
- Position the projector at the desired distance from the screen. Refer to the projector’s user manual for the recommended throw distance and positioning.
- Connect the projector to a power source and turn it on. Adjust the focus, zoom, and keystone settings as needed to achieve a clear and centered image.
- Use an HDMI or VGA cable to connect the projector to the screen. Depending on the projector and screen models, you may need additional adapters or cables.
- Test the projection by playing a video or displaying a test pattern. Make any necessary adjustments to the projector’s settings to optimize the image quality.
With the projector connected and the image optimized, it’s time to fine-tune the projection quality.
Adjusting and optimizing the projection quality
To ensure the best possible projection quality, follow these tips:
- Screen position: Make sure the screen is positioned at the correct height and angle for optimal viewing. Adjust the screen if necessary to eliminate any distortion or unevenness in the image.
- Screen calibration: Most projectors have built-in calibration settings that allow you to adjust the color, brightness, contrast, and other image properties. Use these settings to fine-tune the projection quality to your liking.
- Ambient lighting: Control the ambient lighting in the room to minimize glare and enhance the image quality. Consider using dimmable lights or installing blackout curtains or blinds to create a darker environment.
- Speaker placement: If you’re using external speakers for your home theater setup, position them strategically to create a surround sound experience.
- Experiment with different speaker placements to find the optimal configuration for your space.
By following these tips, you can optimize the projection quality and create a truly immersive home theater experience.
Bottomline
A wall-mounted projector screen can transform your home entertainment. Follow these steps to choose the right location, prepare the wall, install the brackets, attach the screen, connect the projector, and optimize the projection quality. With our guide, you’ll be able to create a stunning home theater setup that rivals commercial cinemas. Say goodbye to cramped theaters and hello to the comfort of cinematic experiences in your home.