How to Hang a Projector Screen: A Step-by-Step Guide

Key Takeaways
- Proper installation will facilitate an aesthetically pleasing, safe, secure, and overall better picture quality.
- Installation will be easier with tools like a drill, level, and stud finder.
- Proper placement matters; center the screen, 24-36″ from the floor, and avoid glare.
- Ensure strong wall studs or strong anchors are used to hang heavy screens.
- And doing small adjustments will ensure the unit will work well, and you’ll have a good viewing experience.
Want to know the best way to install a wall mount projector screen without hiring a professional? Here is the whole guide.
Did you know? According to Statista, the projector market worldwide is projected to generate a revenue of US$40.82bn in 2025. This is because home theaters are becoming more and more popular. The right way to place a projector screen has become a must-have skill as more people turn their living rooms into entertainment hubs.
This guide will show you how to set up a small home theater, a presentation room for the office, or a gaming den. So, read to the end!
Why Proper Projector Screen Installation Is Essential
A wall-mount projector screen is the most important part of any home movie or presentation setup. But a lot of people forget how important it is to mount it correctly. A crooked screen, distorted pictures, or even safety risks can happen if the installation isn’t done right. Here is why proper maintenance is important:
- Better Picture Quality: A leveled screen eliminates picture distortion and makes watching better.
- Screen Lasts Longer: A secure mount keeps the screen from drooping or wearing out.
- Safety: The screen won’t fall because it has strong support, which lowers the risk.
- Professional Look: A properly installed screen makes your room look clean and like a theater.
The basic steps for setting up a ceiling-mounted projector screen, a fixed-frame projector screen, or a high-end automatic projector screen are the same.
Essential Tools and Supplies You’ll Need
Get all of the tools you’ll need before you start. Setting up takes less time and goes more smoothly when everything is ready:
- A measuring tape: For accurate Positioning
- A pencil and a level: Needed to mark and line up the boxes.
- Stud finder: To find support studs in the wall
- A power drill: Used to make holes for mounting.
- Wall anchors and pins: Are used to keep brackets in place.
- Ladder: For installing things on the roof or high walls
- Safety glasses: To keep your eyes safe while you drill
Tip: Don’t lose the screws and other parts that came with your screen. Custom mounting brackets come in some types.
Step 1: Choose the Perfect Placement
Putting your screen in the right place is the first and most important step.
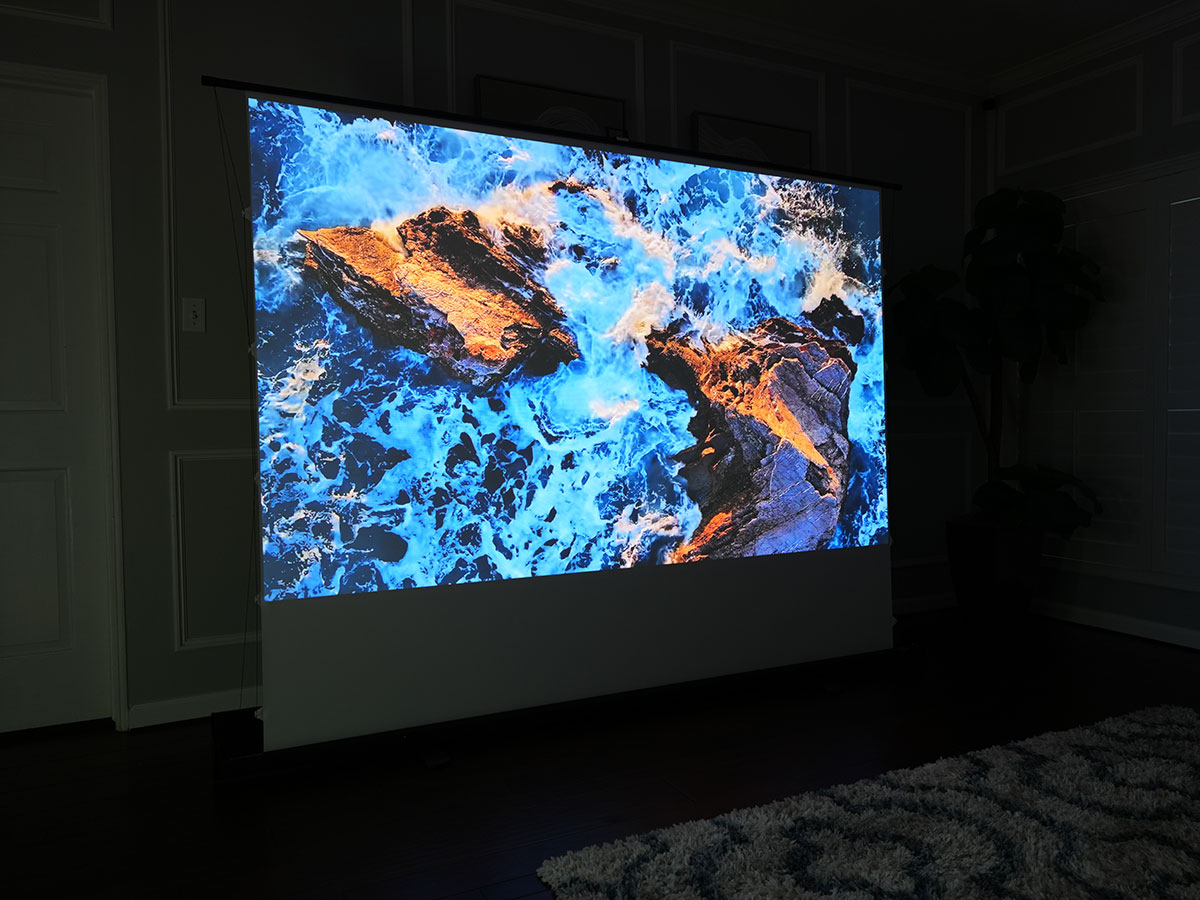
- Lighting: To cut down on glare, pick a spot that isn’t in full sunlight or near bright windows.
- Viewing Height: For a good view, the screen’s bottom edge should be 24 to 36 inches from the ground.
- Centering: Make sure the screen is in the middle of where you’re sitting.
- Clearance: For the ceiling mount projector screen, make sure there is enough room above for the screen to drop properly.
Step 2: Find Studs or Support Points
Next, find the support structure behind your ceiling or wall.
- Find studs with a stud finder; they’re the best places to put things.
- Make a light mark with a pencil on each stud’s position.
- Heavy-duty wall anchors will work if there aren’t any holes where you want to put the screen.
This step is especially important for bigger or heavier screens, like a fixed frame projector screen, which can weigh a lot more than movable screens.
Step 3: Measure, Mark, and Level
Accuracy is key to a great installation. Measure twice before you dig once.
- Using your measuring tape, mark where the hooks will go.
- Double-check that the lines are exactly level with a level.
- Ensure that you check the distances from the floor to the left and right edges of the screen twice to ensure they are straight.
In the case of an electric projector screen, you will want to see the distance to the closest power outlet since you do not want dangling cables.
Step 4: Drill Pilot Holes and Install Mounting Brackets
Now is the time to get the wall ready to be put up.
- Mark the spots and use your drill to make test holes there.
- If you’re not drilling straight into screws, put wall anchors in place.
- Use screws to hold the mounting pieces in place and make sure they are tight.
Step 5: Hang the Projector Screen
Once your frames are ready, it’s time to hang the screen.
- Be careful as you lift the screen and line it up with the frames.
- Hook it into place by following the directions on the package.
- To keep it in place, tighten any extra screws or locking pins.
If the choice is a motorized projector screen, make sure the motor housing is also properly locked down before you use it.
Step 6: Connect Power
You must connect the power cord to the ceiling mount projector screen that is electrically operated.
- You must plug the screen into a nearby power source to test.
- Next, use either the wall switch or remote control to test the up and down device.
- If desired, adjust the screen drop limit to the optimal viewing height.
- Finally, make sure the wire looks as neat and tidy as much as possible.
Step 7: Final Adjustments and Testing
Do a full system check before you finish:
- Make sure the screen rolls down easily after lowering it all the way.
- Show a picture and make sure it is aligned and focused correctly.
- Small changes should be made to the frames if the screen isn’t level.
Tip: If the sides of the screen start to curl, hang it up for a few hours, and it will straighten out on its own.
Pro Tips for a Perfect Setup
- To improve contrast, use blackout shades.
- For a smooth screen, keep it away from air vents.
- Apply a soft microfiber cloth to the area and wipe it down.
- Pulling on the screen could break the mechanism that makes it roll.
- For an automatic projector screen, you might want to think about connecting it to smart home systems.
Create a Home Theater You’ll Love!
You can safe a lot of time and effort if you know how to install a projector screen. Whether you pick a simple wall-mount projector screen or a fancy automatic screen for ease of use, you can have a movie theater experience at home.
If you want high-quality choices, Elite Screens offers a wide range of options that can fit any setup. Visit our website to check our collection now!
FAQs
Q1: Can I install a projector screen without drilling?
Yes, adhesive hooks or tension bars can be used on light screens. For heavier screens, however, drilling is suggested.
Q2: How high should I place my screen above the floor?
For watching from a sitting position, the bottom should be 24 to 36 inches from the ground.
Q3: Is a mount on the roof better than one on the wall?
A Wall Mount Projector Screen is easy to set up, but a Ceiling Mount Projector Screen takes up less wall space and looks better.
Q4: Can I put in my own moving screen?
Yes, most Electric Projector Screen and Automatic Projector Screen models come with directions on how to put them together yourself. Just pay close attention to them.
Q5: How can I keep my screen from tilting?
When installing, use a level to make sure both clamps are the same height and to double-check your measurements.