With summertime behind us and the holidays already at our door, are you ready for phase-2 of outdoor projection season?
Regardless if it is for a warm summer evening or a holiday festival, an outdoor projector and screen setup has become part of the landscape for these times of year. Our culture is so media orientated that a large media display is now expected to be present along with the communal fire of ancient lore if it hasn’t replaced that as well already. I suppose it is fitting that there is something about a light in the darkness that draws all the creatures of the world into its presence. It’s a hard-wired primal impulse we have. So why not do what we do best in the AV industry with such a mysterious and timeless instinct? …make it fun.
Whether it’s watching The Fifth Element at Huntington Beach; Tombstone at a desert campground; Psycho at a pumpkin patch; or Elf at a Christmas tree lot, the projection display is a larger-than-life experience and everyone has their favorite outdoor theater memories. Selling someone on doing this isn’t the hard part; convincing them that it’s easier than they thought, is. You can put on a good show using your household AV gear but here are some tips and warnings on how to have movie night the right way.
Basic Products needed
- Projector
- Projector Screen
- Audio (speakers)
- Media player or wireless router like Amazon Fire or Roku
- Surge Protector / Power conditioner (especially with generators)
- Long extention cord or +2000w outdoor generator
Projector
Typically, your household projector or any commercial model should serve the purpose just fine as long as an average person can lift and carry it with relative ease. Keep in mind that projectors are delicate equipment so handle with care. Also, you should have an appropriate carrying case, not just a cardboard box to store it during transit. Although many household projectors have an output of less than 2000 lumens, it’s a good idea to use a projector with a higher output if possible. It is a lot easier to control light within an enclosed media room than it is dealing with the great outdoors even at night time. I’ve seen enough presentations where the projector was just not strong enough to give a bright image and that increased brightness really comes in handy. (*Expert tip: Read the manual and select the projector’s brightest mode setting. Many projectors have a “showroom” mode. This is the max-brightness setting that retailers use to make the product look more appealing.) Even projectors that are touted as “great for outdoor use” are vulnerable to moisture or getting sand in the components. I talk more about this later in the article but do your homework on this. There are a lot of precautions you can take, just never overestimate an electronic devices capability to withstand the elements. The consequences are almost always tragic.
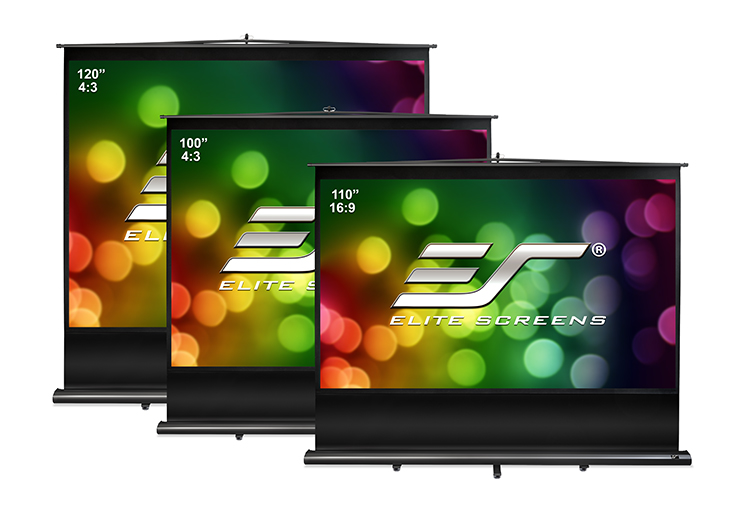
Projector Screens
One could write a book on this subject alone but I’ll keep it brief. There are 3-categories or portable screens: Outdoor, Indoor, Wall and Rental/Staging. Each has its advantages but only Outdoor screens (obviously) cover all the bases. Although the latter two can also be used outdoors, its on a limited basis. That being said, sometimes mother nature has other plans and unlike the postal service, wind, sleet, snow, wind, meteor showers and other potentially apocalyptical events will eventually be too much for any kind of outdoor extravaganza.
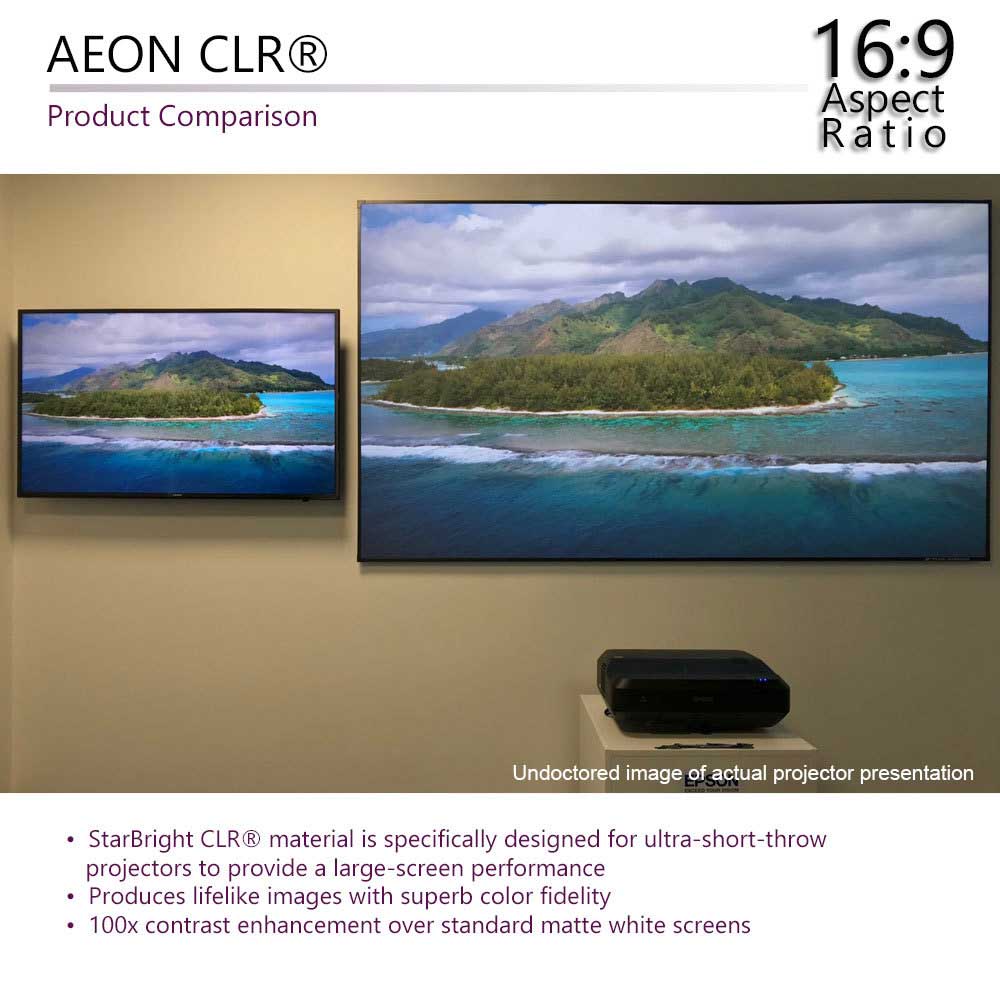
For projection materials, its pretty easy. Choose either a matte white or a rear projection material. When doing an outdoor presentation, forget about using specialty materials such as ambient light rejecting (ALR) screens. These specialty materials are generally too delicate to survive outdoor use and direct sunlight will wash out a flat panel display just as easily as any type of projector screen.
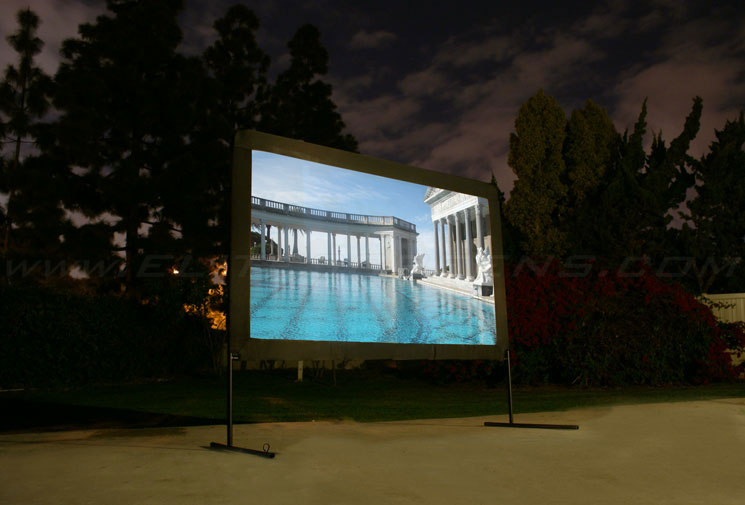
For all other occasions, there is the outdoor projector screen. While some are made to be used on the side of a building on enclosed nook, they are typically free standing. Outdoor projection screens are typically either inflatable or supported by an internal frame or external trusswork. Truss supports are commonly used in concerts and other large productions. For your outdoor event, ther is either an inflatable or free-standing framework design. Either of these are ideal for pleasant to mildly damp & drizzly evenings. Inflatable screens tout a heavier design but require an electric device to keep it inflated. My recommendation is to do an outdoor presentation with as few moving parts as possible. A free-standing framework is 100% non-electric. This means it will not draw power away from your AV devices and there is no risk of a mechanical malfunction cutting movie time short. The framework is typically either a folding almunium or connective tubular metal segments that are assembled on site. A true outdoor screen will have connections for a guy line so that you can lash it down using either an adjustable guy line or tautline hitch. (Don’t worry, its an easy knot and there are plenty of online “how-to” videos on it.)

Indoor portable projection screens offer a lot of versatility but they are generally ill suited for wind as they are not designed to be lashed down. They also tend to work on a free-standing “roll-up/roll-down” mechanism that can collect dust/sand particles which is harmful to both the material as well as any mechanical components.
Rental/Staging screens are often a version of the retractable indoor portable screens. They tend to be larger and utilize an intgrated stage case (aka. Road case) in their design that stands up to heavy commercial use in professional productions. Although they are heavier, they have the same drawbacks with sentiment getting stuck in the rollers or having an insufficient means of being secured against the wind.

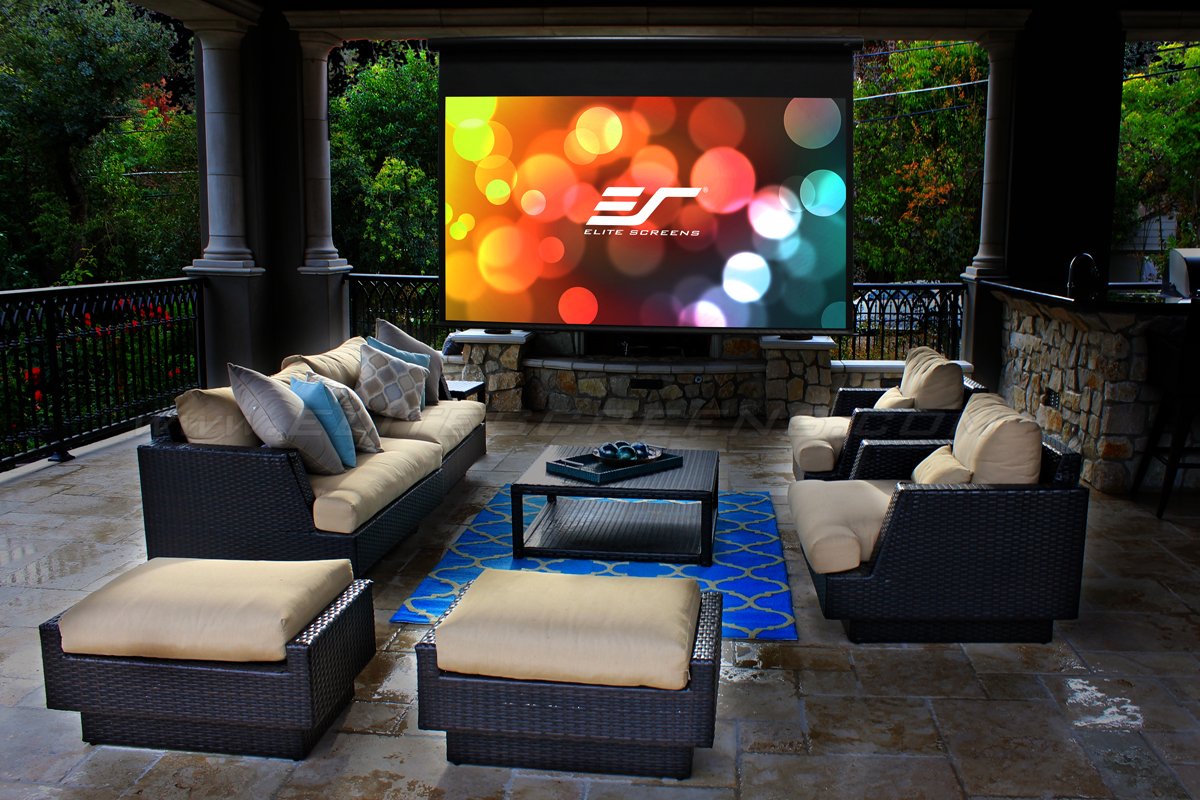
Hanging wall projector screens are typically hung from the side of a building, in a breezeway or a patio. They can be as simple as piece of cloth with counter weights at the top and bottom or they can be of the mechanical “roll up” design. The roll-up models come in either an electric or manual format and are favorites for backyard barbecues and other get-togethers but are not advisable for travel.
Miscellaneous items such as thumb drives, laptops, media players and speakers
This category is entirely up to the individual’s preference. Remember to stay focused on portability, especially when it comes to speakers. These attach to your projector or external media player the same was as you would at home. Its easiest to run an extention cord from a building’s outlet to provide power. However, you may be far enough out to require a generator. There are many affordable models to choose from but it is preferable to obtain one with at least a 2000 watt capacity. Sometimes, power output from generators tend to surge. To protect your gear, it is ideal to use a power conditioner or at least a surge protector between the generator and your gear. Your media device may be a standard media player, laptop, a wireless router like Amazon Fire or Roku; or a simple thumb drive depending on your projector’s capability. Like your imagination, the price range for these items is about as diverse.
Final Thoughts on the Projector Screen Setup
When you are all set for the show, rember these basic rules in your layout:
- Make sure that the aspect ratio of your projector and screen are the same. The aspect ratio is the actual shape of the screen. They are defined by the corresponding units of vertical and horizontal measure. For example, a 4:3 aspect ratio means that for every 4 units of width, there will be 3 corresponding equal units of height. The most common is HDTV which as a 16:9 (16 wide x 9 high) format. To give a good presentation, it is best when the projector and screen’s aspect ratios match.
- Know the throw distance needed for your projected image to match your screen’s size. The greater the distance your projector is from the screen, the greater the size of your image. Make sure you set your projector and screen at the ideal distance so that the projected image matches the screen. If you notice that the imag has a keystone effect (top or bottom of image is wider), there should be a keystone adjustor on your projector or by manually adjusting the tilt of either the projector or screen.
- Give your performance at or after dusk. After sunset is when the atmospheric lighting of the outdoors is light enough as to not wash out the image. This is the ideal time to tell people when the movie will start. Don’t start handing the popcorn out at 2:00 in the afternoon; I’m just sayin’.
Outdoor Elements that Affect Your Presentation & How to Deal with Them:
- Dust, Sand, Sediment & Bugs: All these are considerable hazards for most “roll-up” designs. Always pack a modern feather-duster with your screen to whisk away small bits of sediment, dust, trimmed grass or small insects attracted to a bright screen. It’s a good idea to never use a roll-up design in a place where sand can get into the mechanism. For beach presentations, it’s always better to use a more fixed-design. That being said outdoor projection screens clean up nicely. Use the duster to wipe away any of the afore-mentioned particles and perhaps a damp cotton cloth to clear away any smudges.
- Moisture & Rain: Most outdoor screens are made for damp weather. Since rust sets in within minutes, the metal is typically either aluminum or a powder-coated ferrous alloy. The materials stand up to the elements but it is important to not pack it away damp. Even on a PVC screen, stagnant water packed away with the material will likely mildew the screen. More importantly, protect your projector. There are numerous products available to not only keep the rain off your projector but keep the dampness from accumulating as well. There are many websites that give great tips on keeping the elements away from your outdoor AV gear. Take the time and look it over. It’s worth the research.
- Wind: Although an outdoor screen is designed to withstand the elements and be lashed down against the wind gusts, eventually physics will take over if the wind is strong enough. Be wary when manufacturers give you “wind ratings” of 35-45-55+ mph. Just because that is the stated tolerance level, it does not mean that it’s safe to keep your screen up when the wind gets that bad. Once winds exceed 20mph, it is dangerous to keep your outdoor screen up. Regardless of how heavy your inflatable screen is or how light your projector screen may be, a strong wind gust can turn your screen into an airborne missile. For this reason, stay informed on your daily weather forecast and use an outdoor screen that can be easily laid down or dismantled should the weather turn nasty unexpectedly.
- Sun and Ambient Light: Ambient light is the light of any source other than your projector. With outdoor projection screens, ambient light is always present. It can be from a distant streetlight, the moon, or the stars. Usually it’s not a big deal and your projector will throw enough light to not be affected by it. In more extreme cases, like shining a car’s headlights onto your screen, the abundant ambient light will wash out the picture. A typical well lit living room or dining room has a measured brightness level of about 50 lux. This is enough to spoil the performance of a matte-white projection material. The greatest enemy of projected displays is direct sunlight. The brightness of a cloudless sunny sky measures in at around 10,000 lux or 200 times the brightness of a well lit living room. The best ALR materials money can buy cannot save you from this kind of washout. To avoid having the effects of ambient light ruin your picture, follow these simple rules. 1. Wait till dark and 2. Position your screen so that your projector is not competing against any other light sources for attention.
Despite all the steps, this is really meant as a guide to setting up an outdoor projection array and how its various elements play such an important role. Once you get started on your setup, you’ll be surprised at how easy putting it all together really is. The average person can make it happen in about 10 minutes.
-DR
Elite Product Introduction:
Yard Master Manual
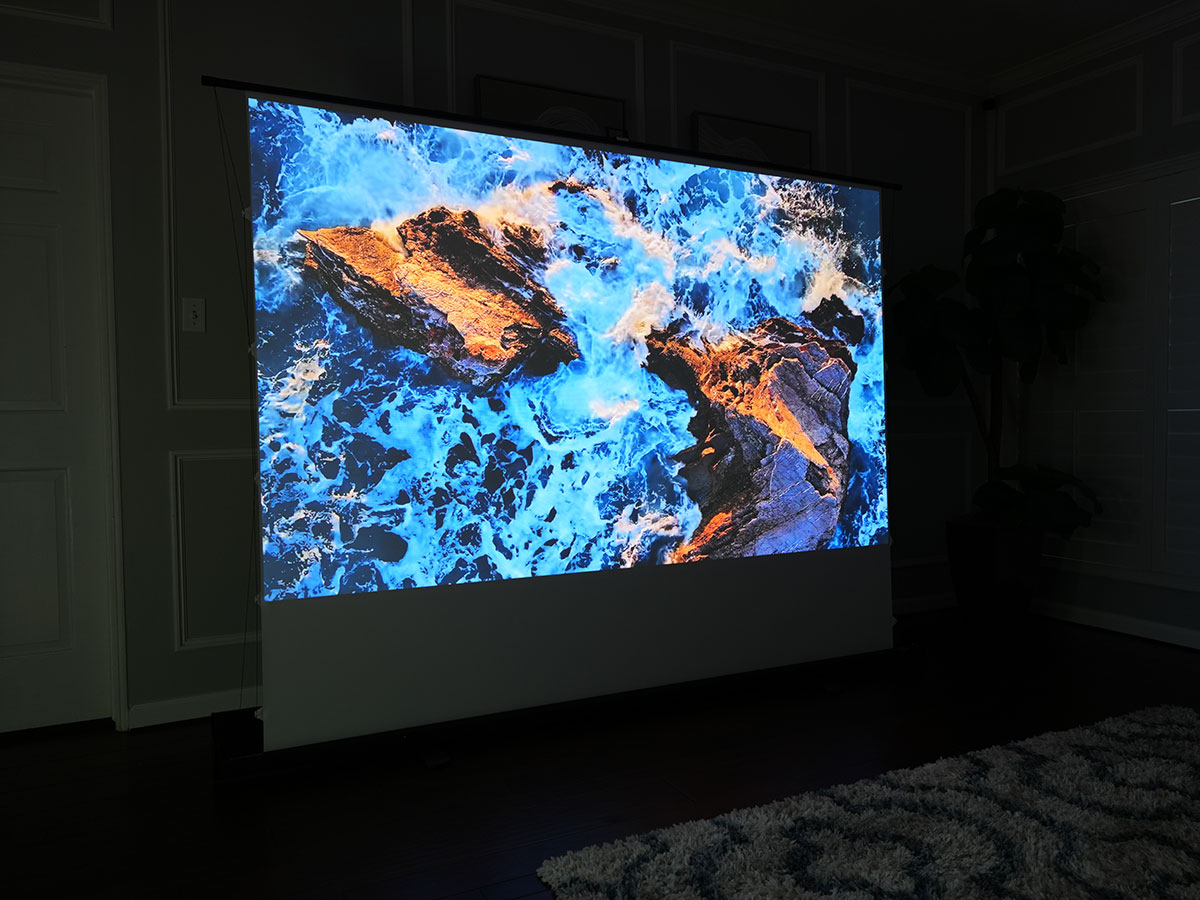
The Yard Master Manual is a non-electric outdoor projector screen for wall and patio installations that brings media room quality to your outdoor spaces. Its sleek enameled weather resistant aluminum casing beautifully accessorizes your backyard, patio, pool deck, or anywhere a gathering for evening movie time is appropriate. The rising and lowering mechanism utilizes an SRM (slow retract mechanism) that prolongs the product’s lifespan and allows the material to rise back up into its casing unassisted. The MaxWhite projection material is ideal for the outdoor use while it provides a wide viewing angle that will accommodate your entire viewing audience. It is also GREENGUARD® (UL2808) certified for safe air quality emissions.

Yard Master Electric
The Yard Master Electric is Elite’s outdoor projector screen for patios and other outdoor spaces. Watch a movie in the convenience of your own backyard, patio, pool deck, or wherever your creative innovation leads. The electric screen is raised and lowered using a Radio Frequency remote control. Additional accessories include a magnetic weight bar bracket and a ground stake kit to keep screen secured against mild wind conditions. Outdoor grade materials enable the product to sustain a long lasting operational lifespan.
Yard Master 2
The Yard Master 2 is a well-made outdoor projection screen that incorporates an easy to use, folding-frame design. Its light-weight aluminum frame allows it to be set up in just minutes. Simply, unfold the frame; attach the material and secure the leg supports. It features a choice of either 1.1 gain matte white front projection material or 2.2 gain rear-projection material. The Yard Master 2 is the perfect companion for outdoor presentations with front or rear projection materials available. No tools are necessary for assembly. Ground stakes, cord, eye bolts and soft carrying case are all included.