How to Install an In-Ceiling Projector Screen from Basements and Rooms
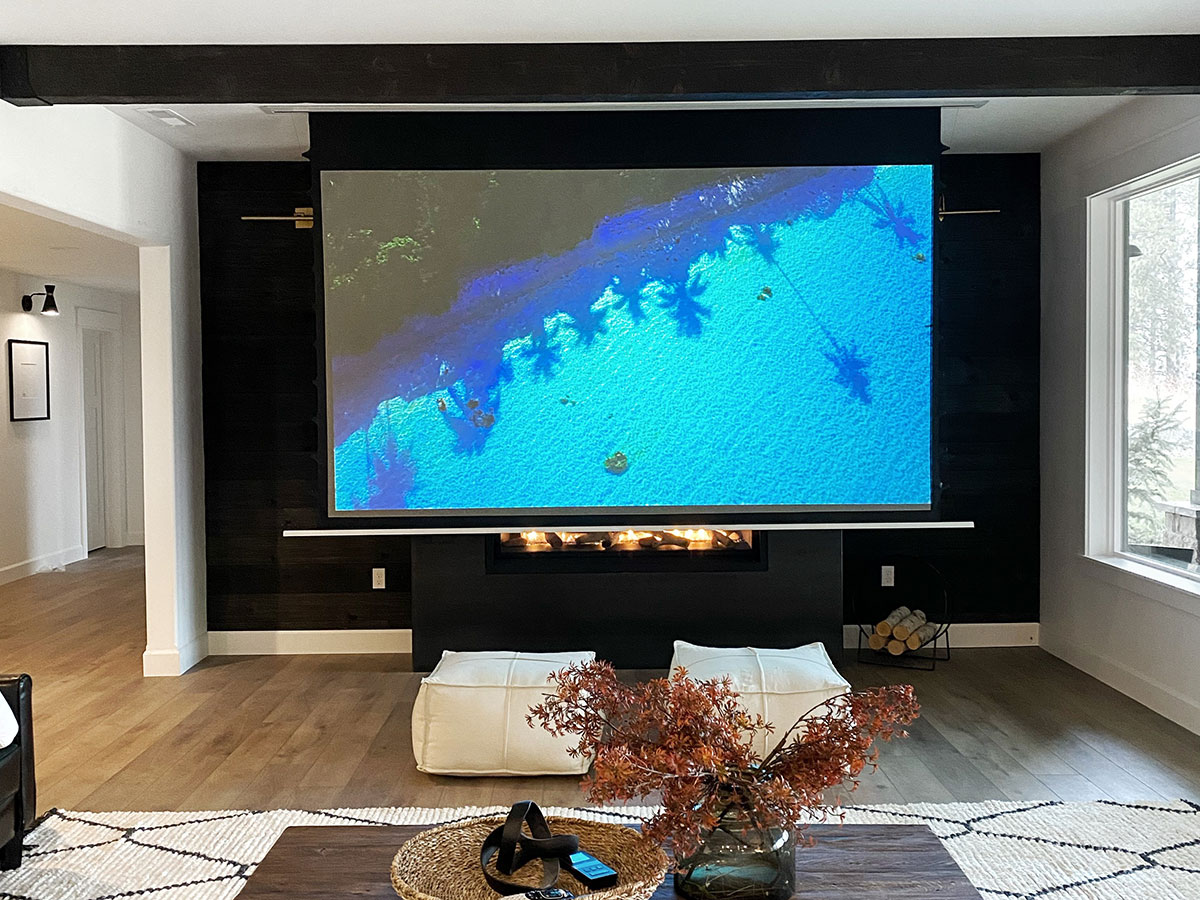
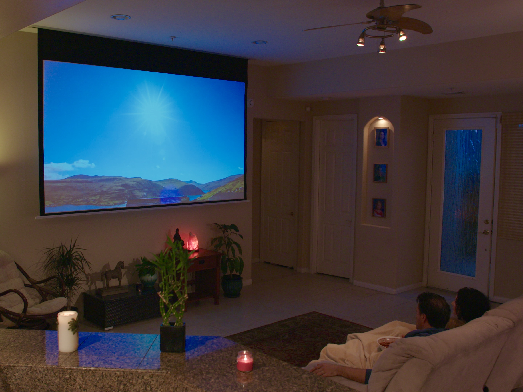
In-ceiling projector screens are a neat, clean way to have an electric roll-up projection display that appears out of nowhere and disappears leaving a minimal footprint. Typically, these are installed by professionals because it requires the skills of a trained and experienced tradesman. However, if you are just curious about how it’s done or a determined DIY’er in need of a fun new project, here are the basics on installing your own In-ceiling projector screen. In this case, the example is the installation of Elite’s Evanesce series of in-ceiling projector screens. These come out of the box ready to plug and play so no assembly is required.
All that is needed is how to install it into the ceiling. Here are the steps below.
- Planning: Determine where the screen will be installed.
- Step 1: Measure and cut the ceiling installation space.
- Step 2: Drill mounting Corresponding Holes to Install Using Hex Bolts
- Step 3: Attach your Control Unit.
- Step 4: Connect to your Power Source
- Step 5: Tuck in your Wires and Control Unit
- Step 6: Align the Tapped Holes and Secure the Screen in Position Using its Hex Bolts (included)
- Step 7: Install the End Flange Covers
Below is each step in detail.
Planning
It’s tough to say which step is the most important because the installation needs every step in order to be complete. That said if I were to pick a favorite, the Planning Stage is absolutely essential. It determines where exactly the screen will be installed and how it will be installed. Once an ideal location is found, consult the technical drawings of your structure so that you will not be disturbing pipes, wiring or any vital load bearing elements of your building site. Also, make sure your installation bolts are of an acceptable length to adequately secure your screen without protruding beyond the anchor material (aka. wood board you drilled into).
Next, when installing an in-ceiling projector screen, make sure that the screen (represented by the blue line) runs parallel in between the ceiling joists as in fig. 1; not across the joists as shown in fig. 2. Cutting into the joists will undermine the structural integrity of your room making a collapse inevitable and consequently, the structure uninhabitable.
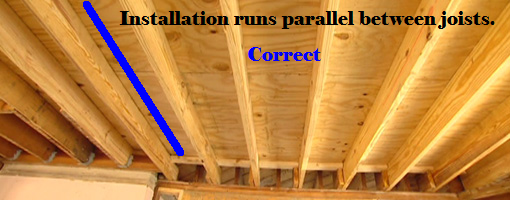
Fig. 1 shows how an in-ceiling screen (blue-line) should be attached parallel to the ceiling joists an in between them.
This is a strong and structurally sound installation.

Fig. 2 shows how cutting into the joists to make way for your projector screen (blue line) undermines the load-bearing capacity of your ceiling.
This presents an even greater threat if there is a second story above this room.
*Important Note: Wherever you live, remember to check with your State, County, City or Town government and see if a building permit is required for the home/facility modifications you have in mind. The instructions featured in this article and its accompanying video serve as a basic guideline for how an installation should be performed in a general setting. If you are not a professional builder or installer, it’s highly recommended that you consult a professional to ensure that the final results are a safe and aesthetically pleasing installation.
[yotuwp type=”videos” id=”92Piq4lAqWs” ]
Step 1: Measure and cut the ceiling installation space.

Use your structure’s technical drawings and a stud finder to locate a space between your ceiling joists that will serve as a good mounting spot. Once you have found a space, cut a channel (hole) that matches the length of your screen’s casing with end cap mounting brackets included. The width should be about 100-120mm depending on the various sizes of models used. The casing should fit snugly.
Step 2: Drill mounting Corresponding Holes to Install Using Hex Bolts

Try a test-fit of your screen into the channel cut in your ceiling. Use a pencil through the tapped holes on the end cap mounting brackets to determine precisely where to drill. Tap two corresponding holes at either end of the channel that will align with the holes on your screen’s mounting brackets. (See Step 6.)
Step 3: Attach your Control Unit.

In-ceiling projector screens typically come with an external control box that receives both infrared (IR) and radio frequency (RF) signals. This can either be wall mounted or tucked up into the installation channel that you cut into your ceiling. Products like Elite’s Evanesce come with a 12-volt trigger and extended IR sensor. Infrared (IR) controls present a direct line-of-sight (LOS) control from the remote to receiver whereas radio frequency (RF) offers greater range and remote control access even when the receiver is up in the ceiling. A great feature however, is the 12-volt trigger. This RF accessory synchronizes the screen’s drop and rise with the projector’s power cycle. When the projector powers up, the screen drops down. When the projector powers down, the screen retracts.
Step 4: Connect to your Power Source.

Connect your power source. The Evanesce comes with an NEMA 5 (125V) (North America Standard) power connection. It pairs with a US standard outlet or can be modified by an electrician to be integrated with the structure’s electrical wiring.
Step 5: Tuck in your Wires and Control Unit.

Tuck in your control unit, wires and power connection into the installation channel but be careful that they don’t obstruct the screen when the product is ready to be seated. The control box has an RF receiver so placing it into the ceiling will not impair its ability to receive signals from the RF remote.
Step 6: Align the Tapped Holes and Secure the Screen in Position Using its Hex Bolts (included).


As previously stated, now is the time to align your installation holes as mentioned in Steps 2 and 3 with the end cap brackets on your screen’s casing. Use the included hex bolts and tighten them using the socket wrench that comes with your screen. Don’t over tighten or you will strip out your tapped holes. Instead, tighten them to the point where it firmly resists your turns.
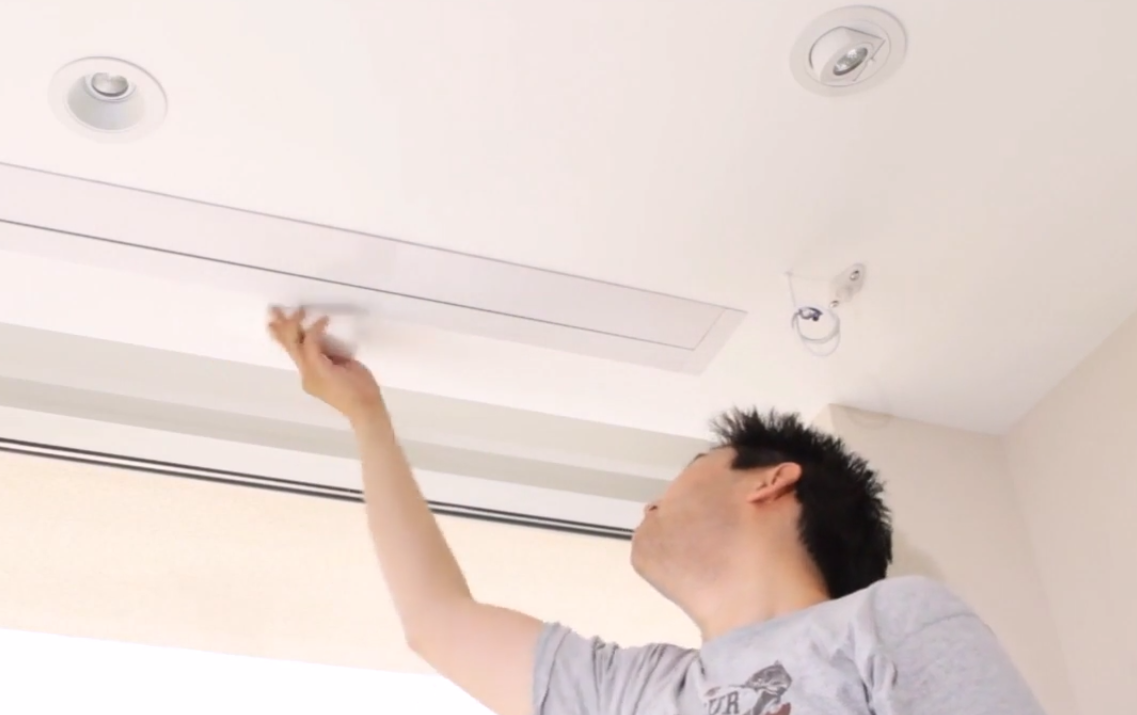
Step 7: Install the End Flange Covers.

Here comes the easy step. Click your end flange covers into position. They cover the last visible portions of your installation channel and complete the installation.
Step 8: Clean Up the Project and Perform Final Inspection.

The final step is all about the presentation. Use a mild cleaning solution on a soft cotton cloth to remove dust and fingerprints from the installation. Now is the time to sit back, admire your work and enjoy the show.
-DR
Reference Products Made by Elite for the Various AV Sales Channels
- Full Selection of Evanesce Projector Screens (including DIY CE-Retail Models)
- Evanesce Plus (Crafted for Commercial Professional AV Installers)
- Evanesce Tab-Tension (Tab-Tensioned Variant Crafted for Commercial Professional AV Installers)