Ceiling Ambient Light Rejecting Projection Screen

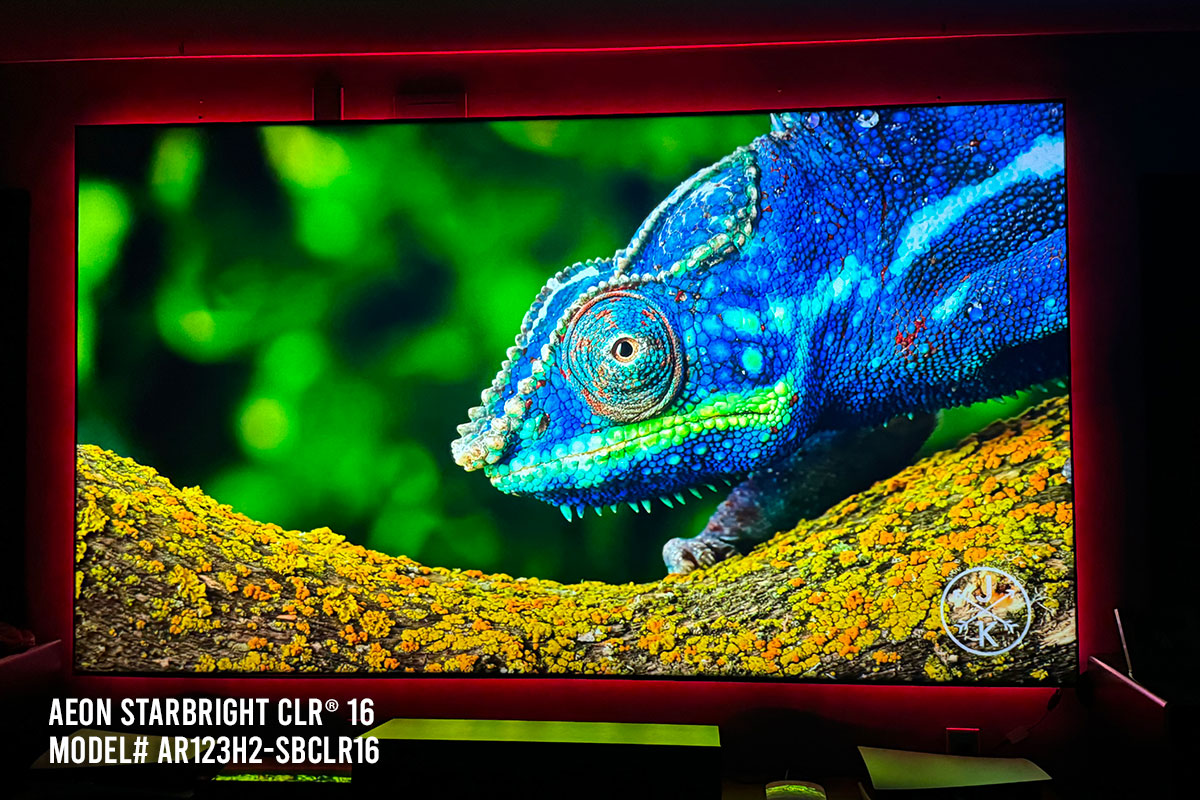
Aeon StarBright™ CLR® 16 Series

TAA Compliant Products
Ambient Light Rejecting Screens

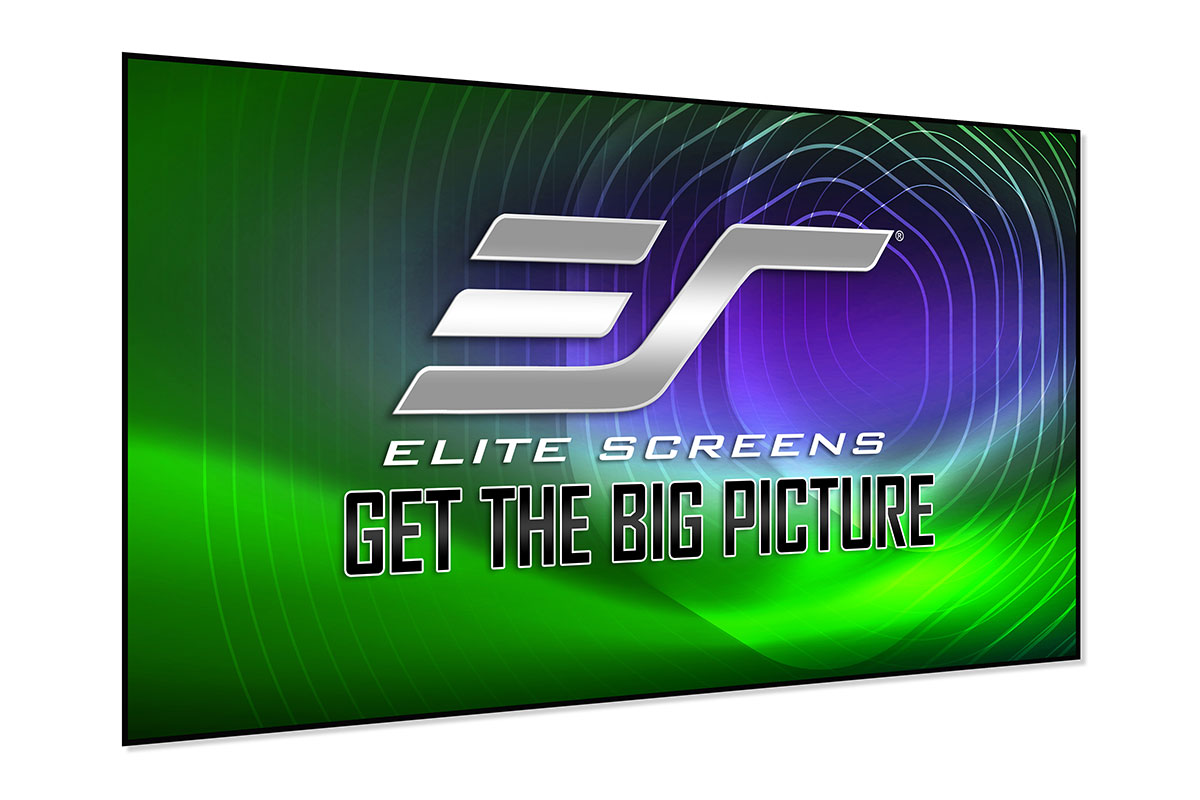
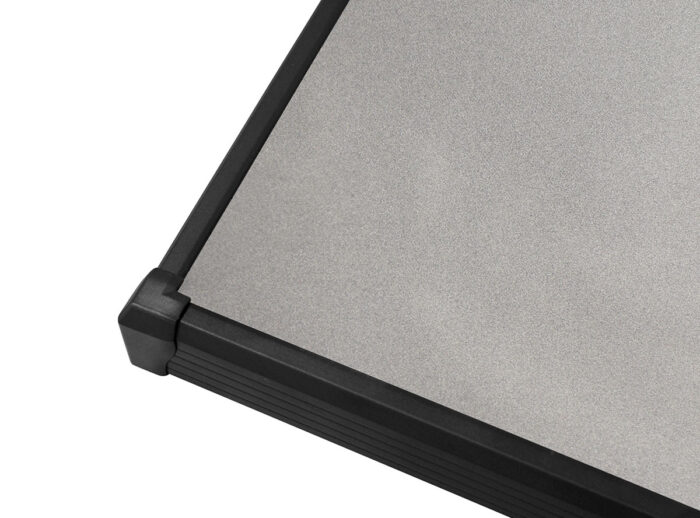
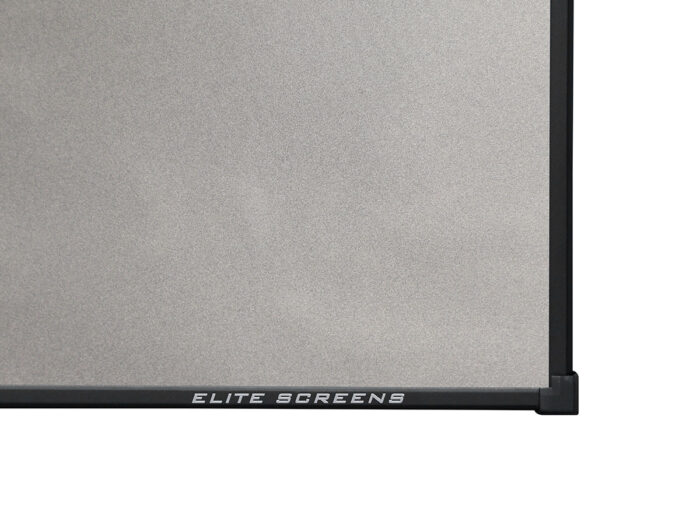
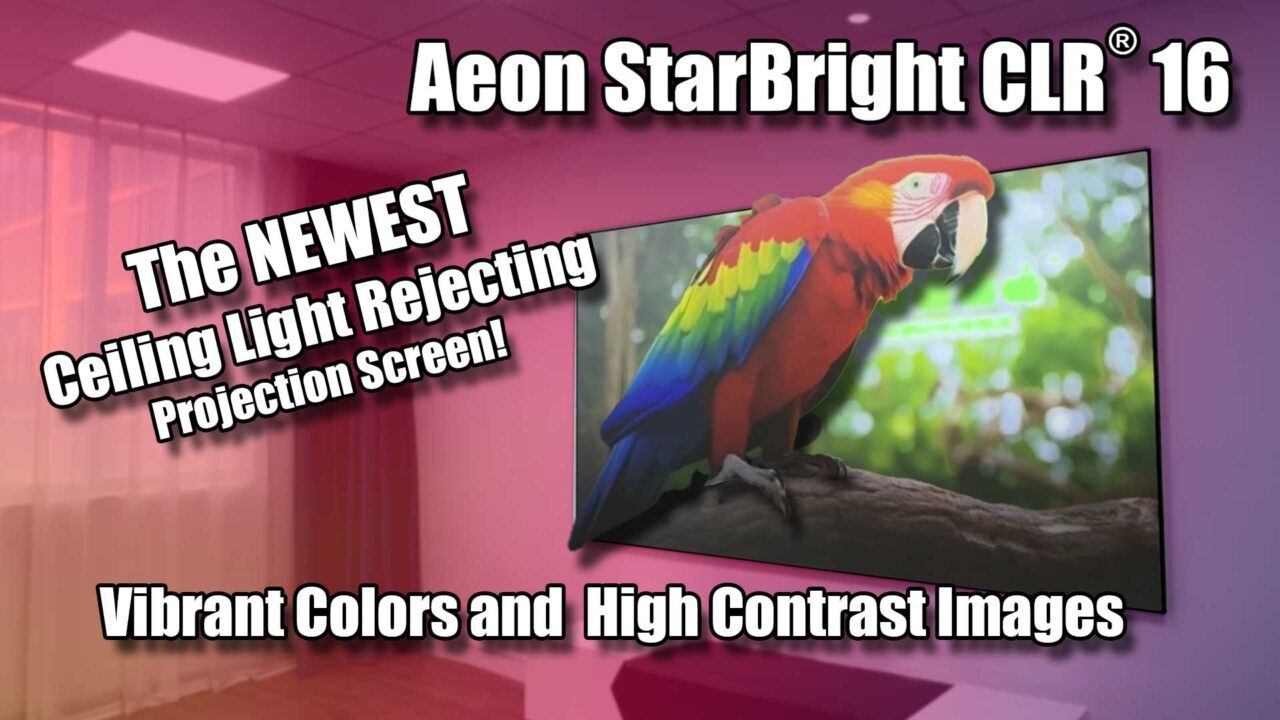
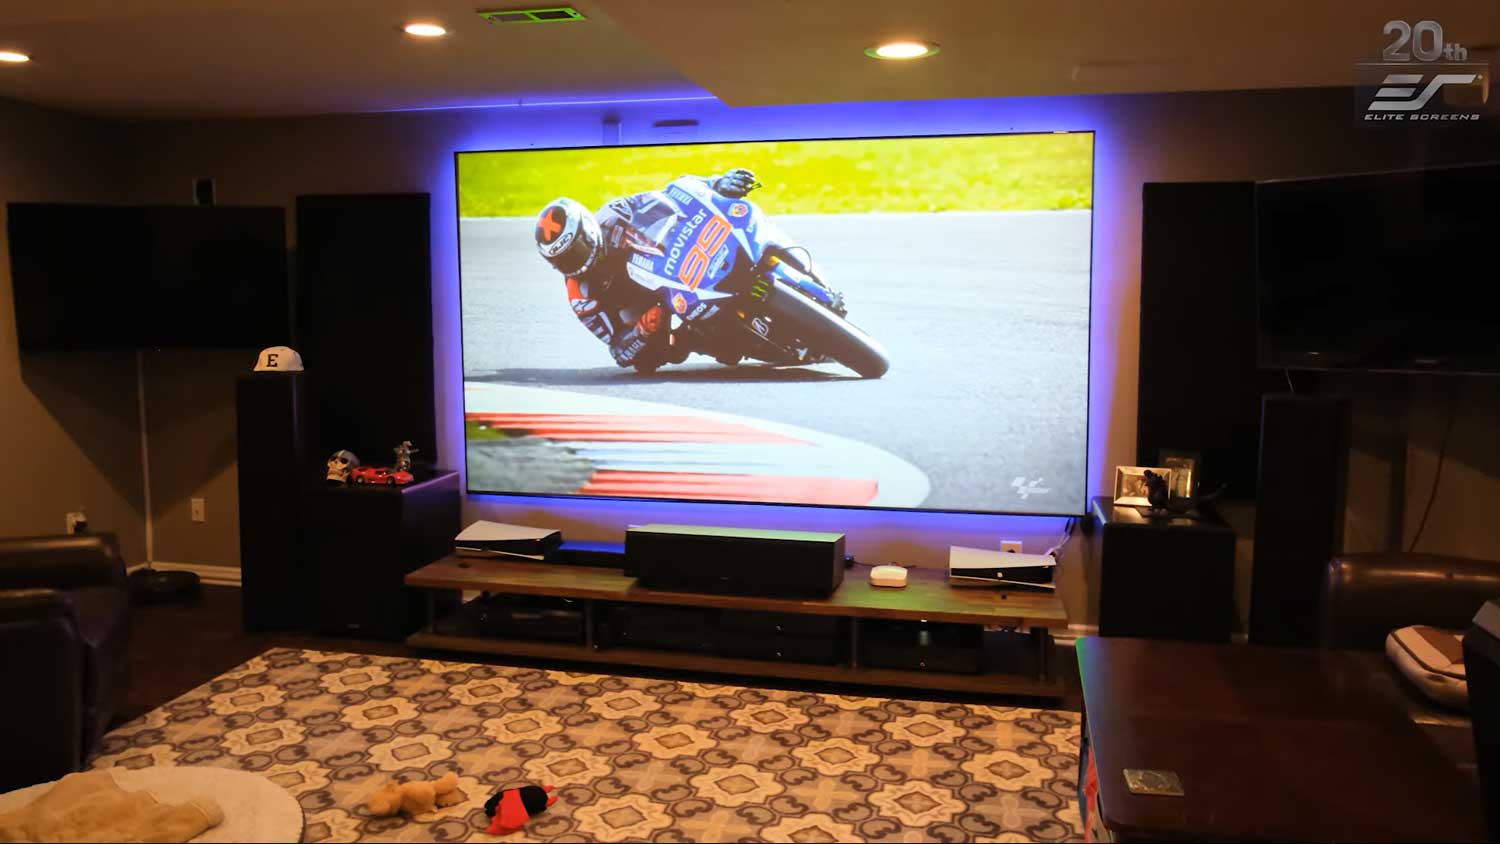
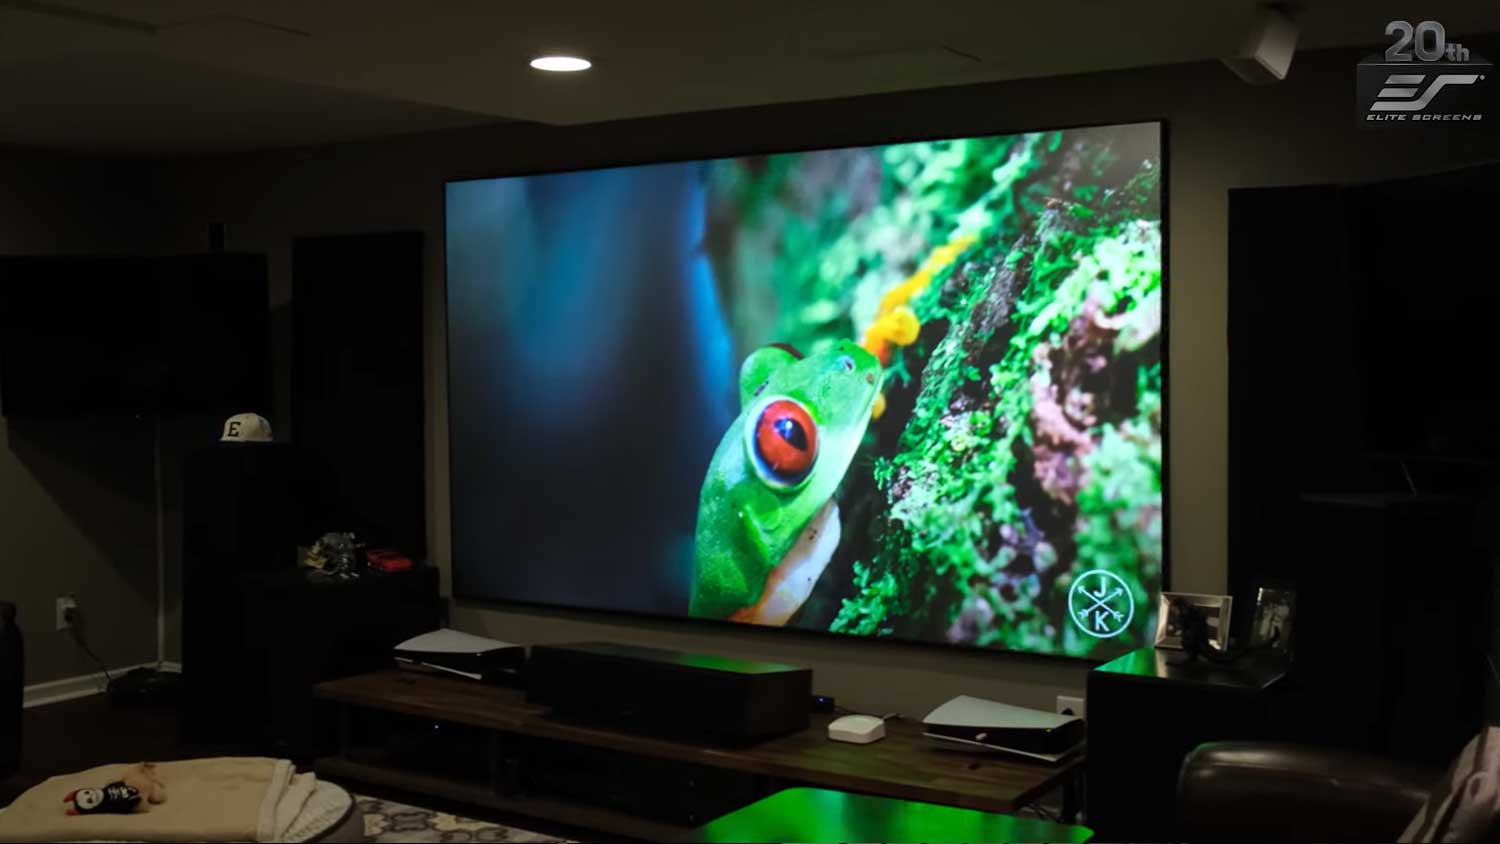
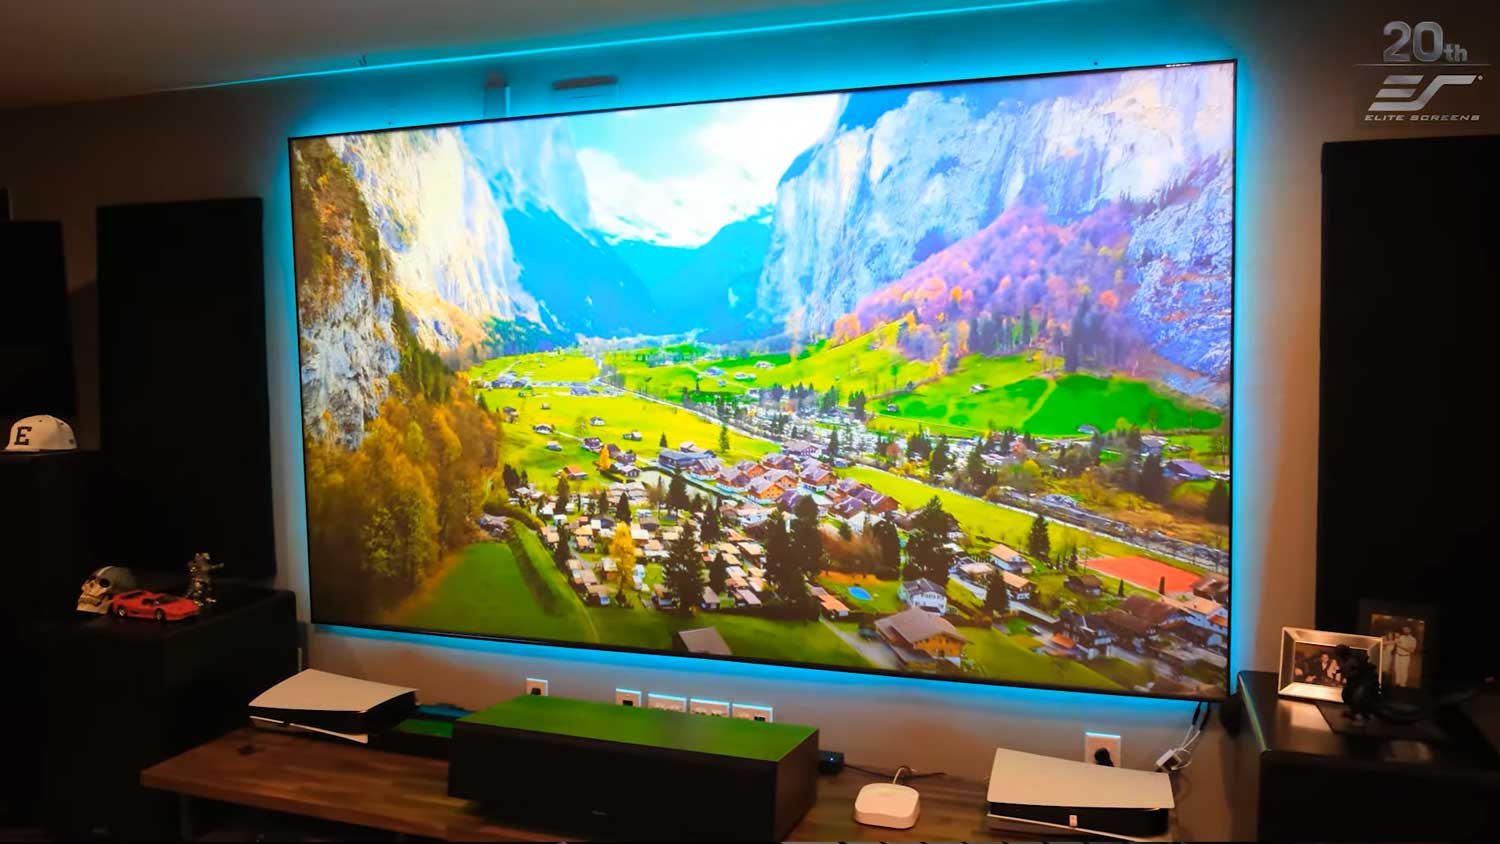
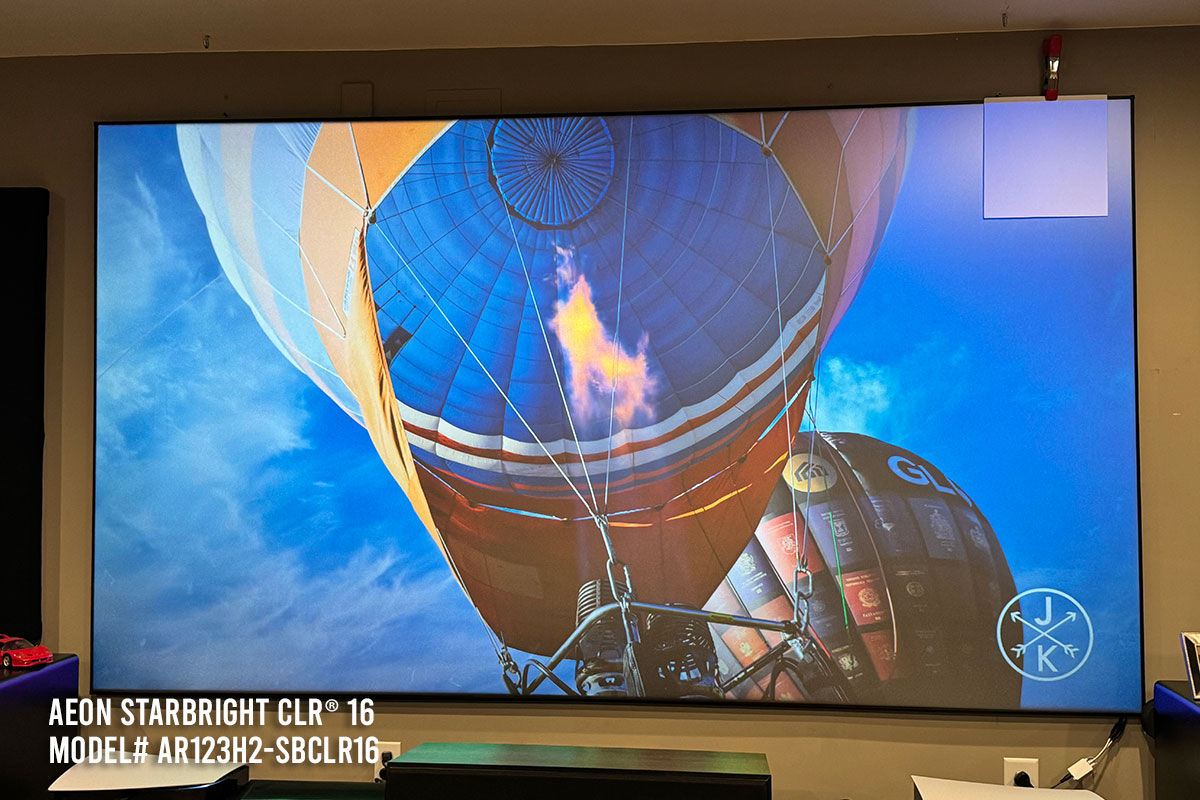
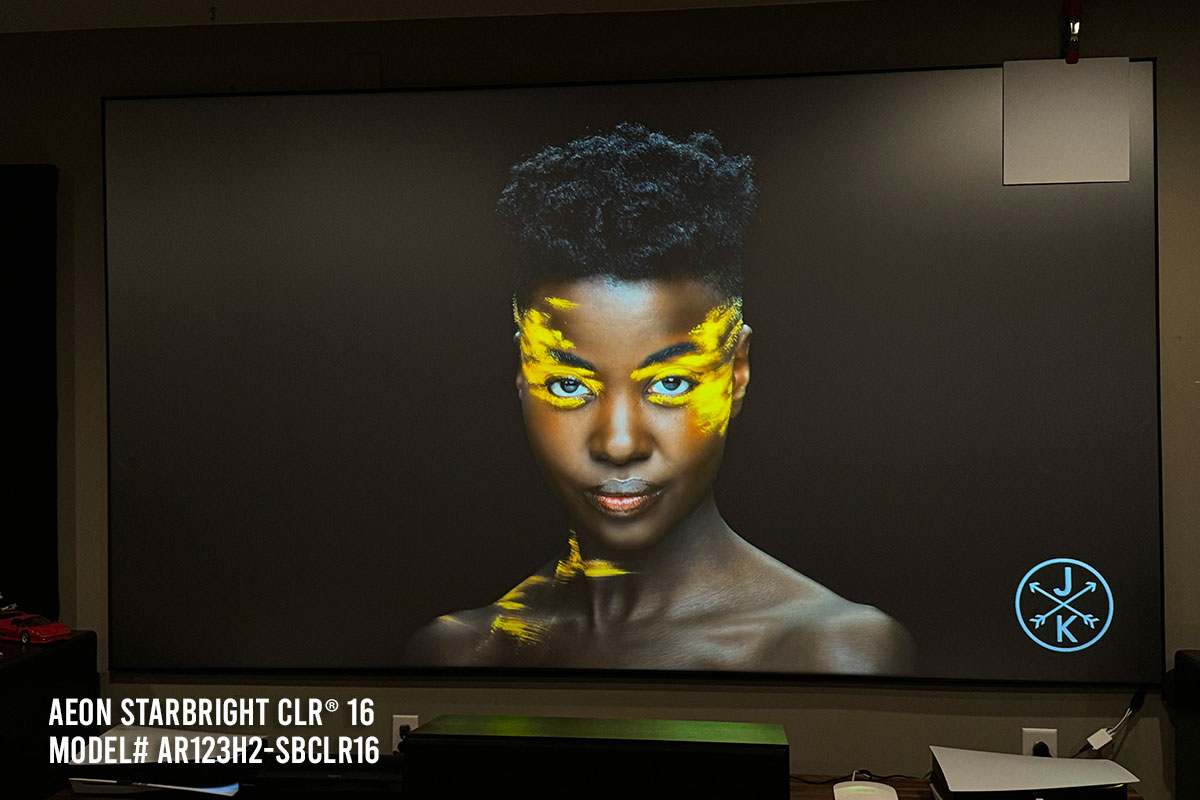
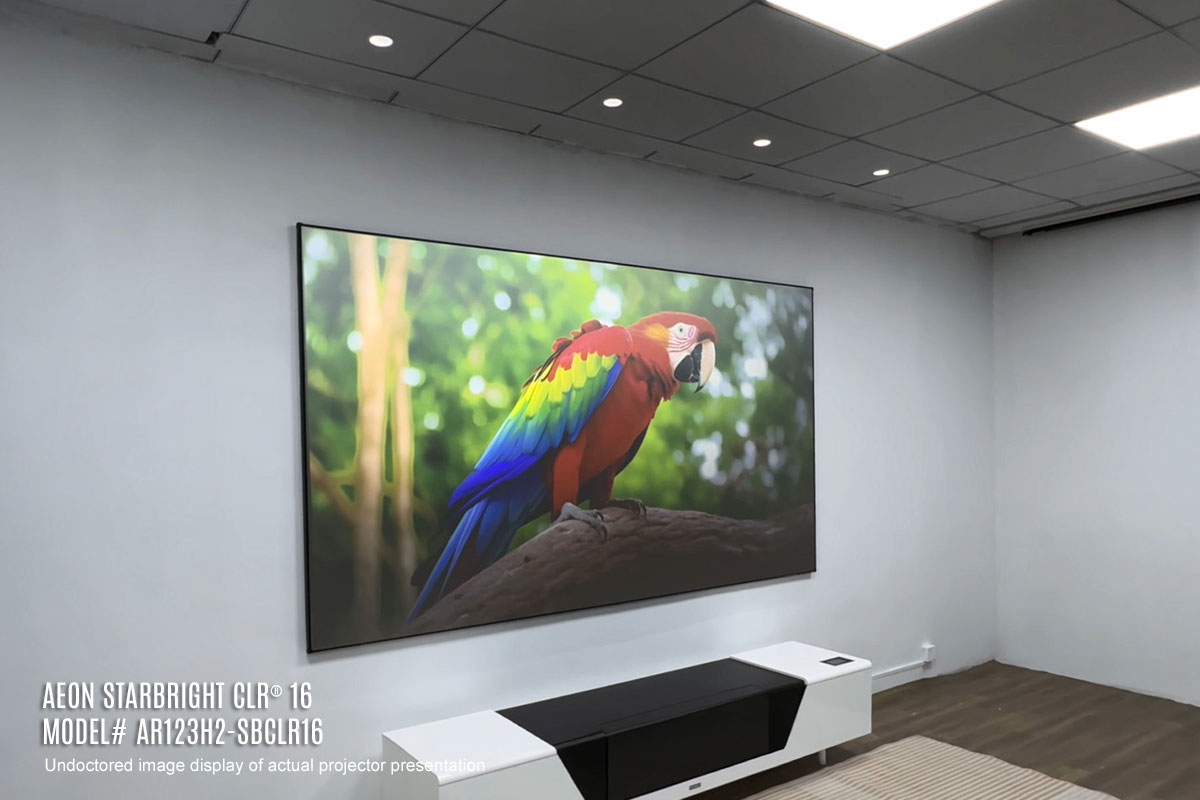
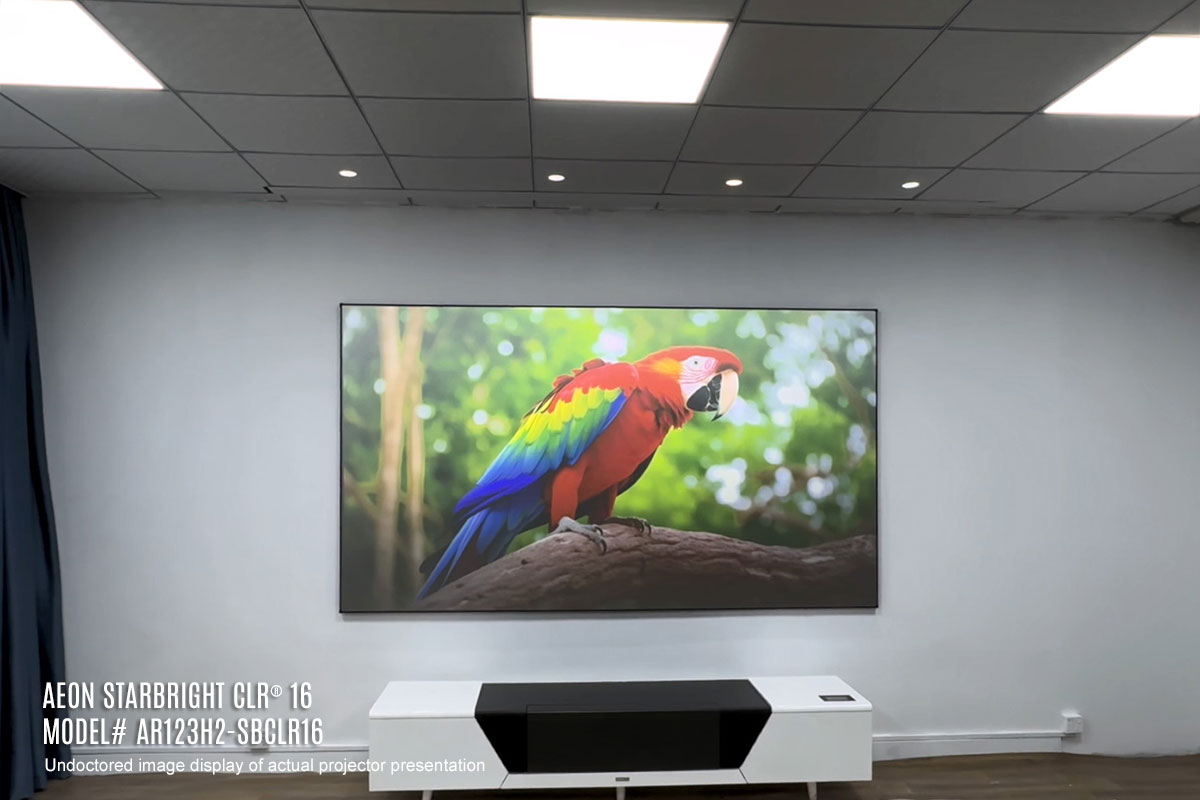
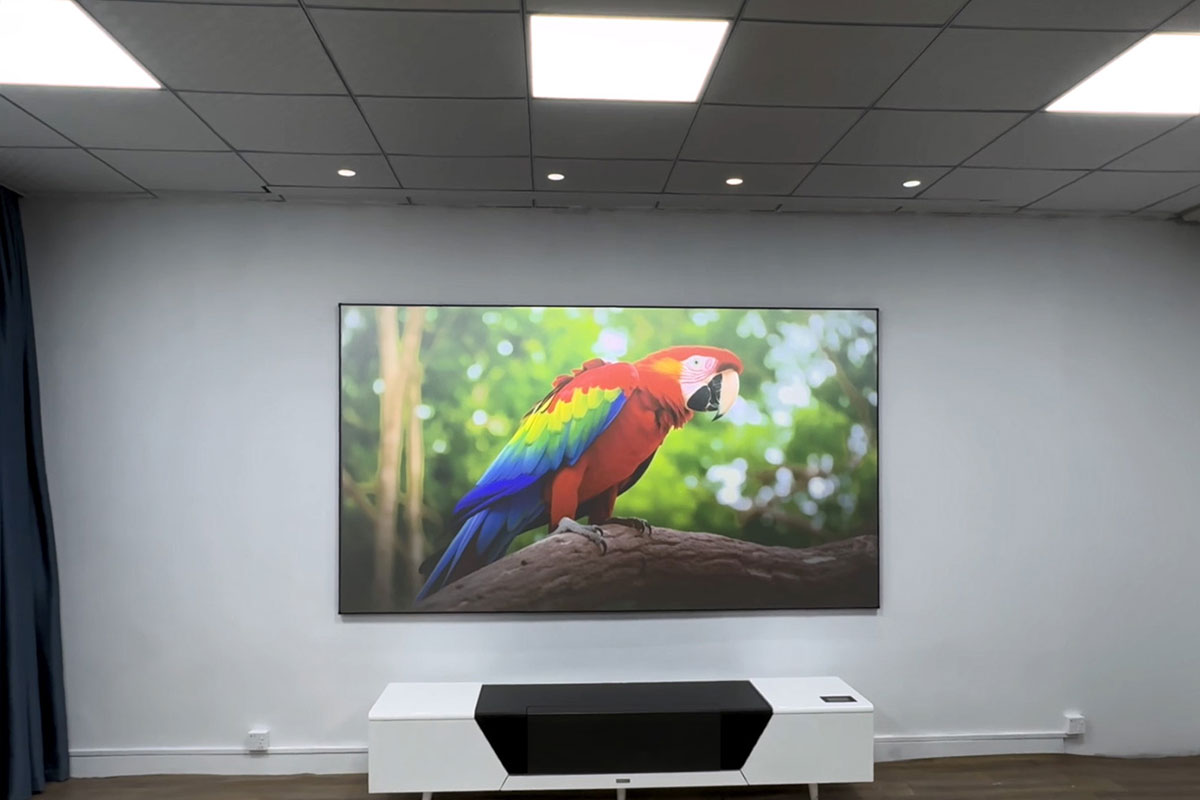
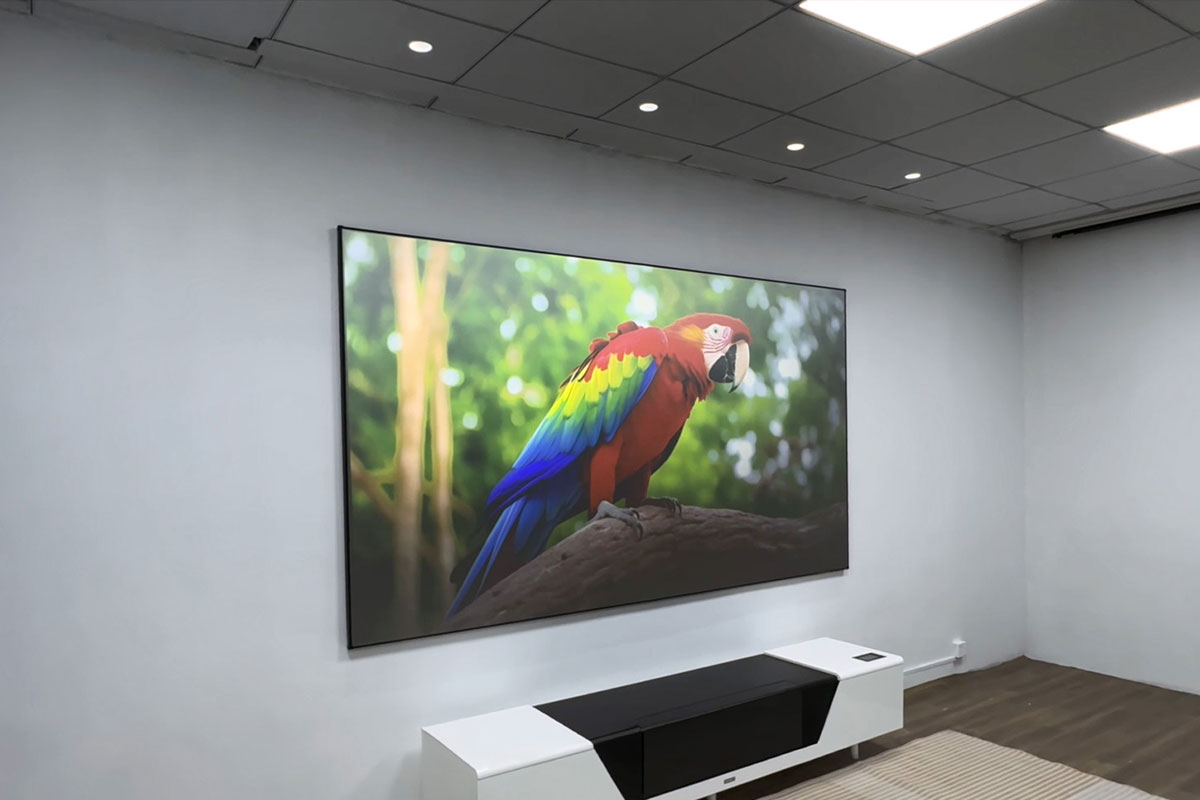
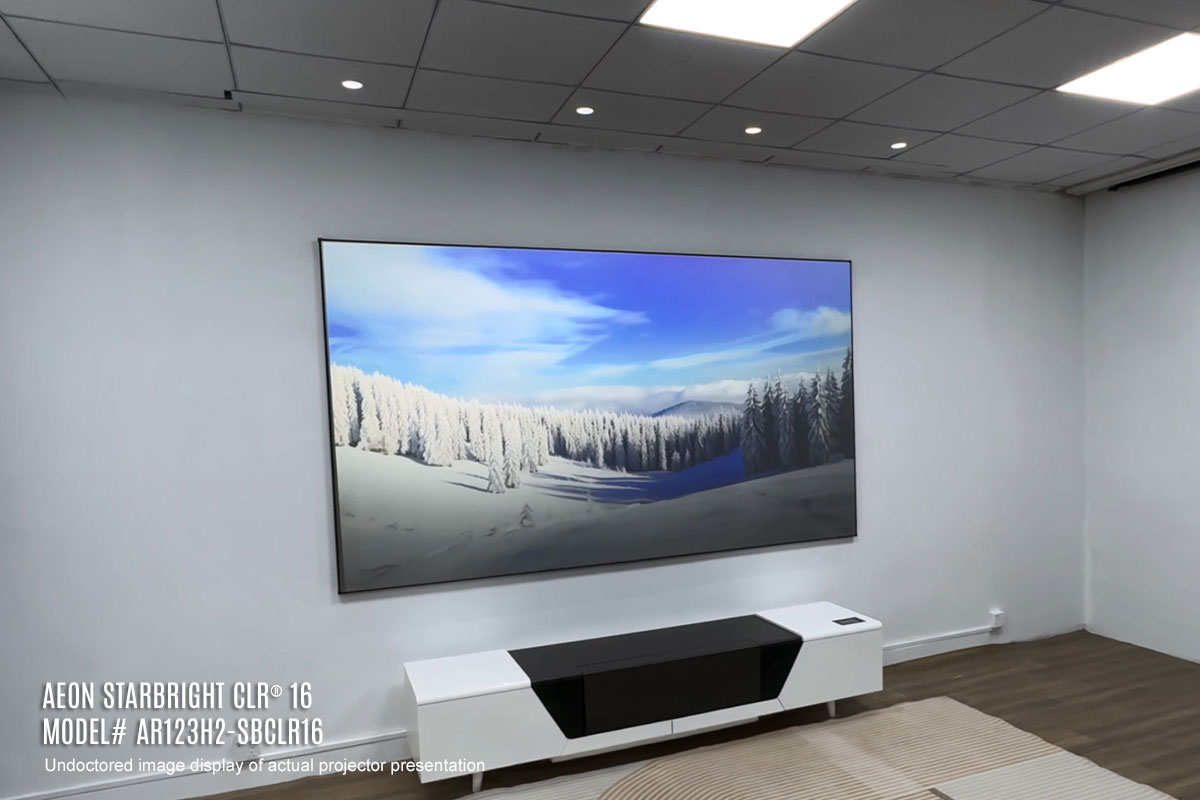
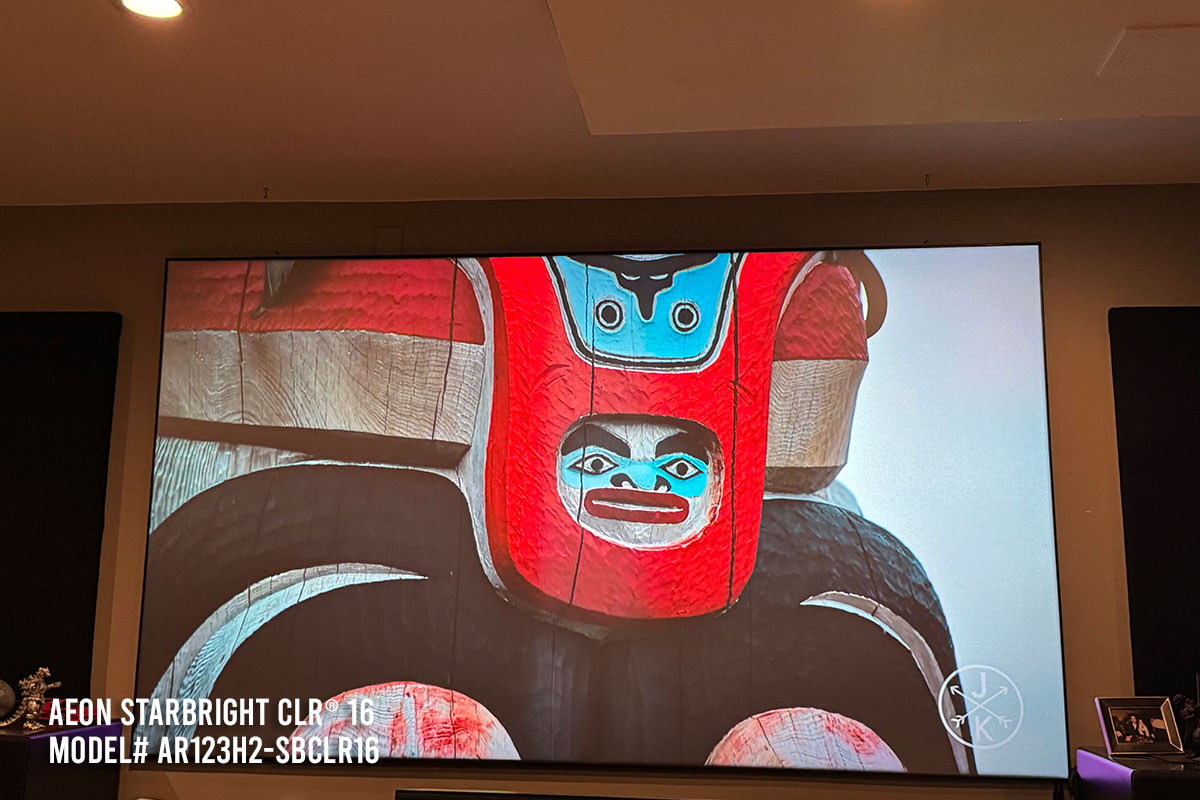
The EDGE FREE® Aeon StarBright™ CLR® 16 is a ceiling light rejecting fixed frame screen. It has a high gain front projection surface that increases projector brightness while absorbing overhead light to produce vivid, colorful, contrast-rich images in ambient light room environments.

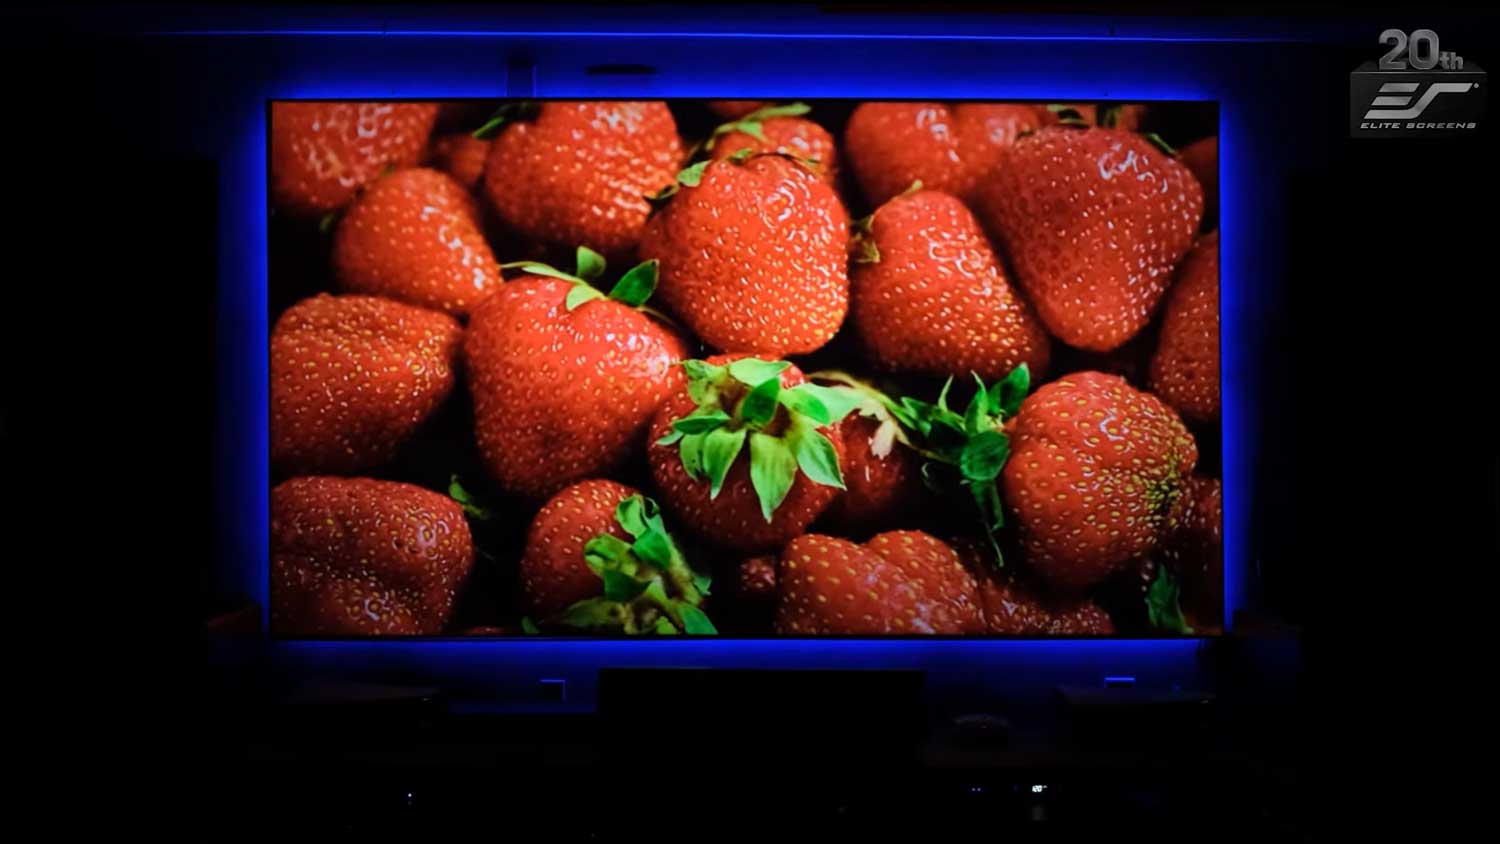
The thin frame design maximizes the viewing area into a smaller footprint which is more appealing in appearance and in accommodating room décor. An LED light kit is included to enhance the frame appearance and room lighting.

Where to Buy
Buy Now
Product Weight N/A
Overall Dims N/A
Viewing Angle

80°

Gain

1.65

Screen Material

Compatible Projection

Standard "Long" Throw

Material Type

Ambient Light Rejecting (ALR/CLR®), Silver & Grey

Summer Showcase 2024: Exclusive Interview with Projector Reviews

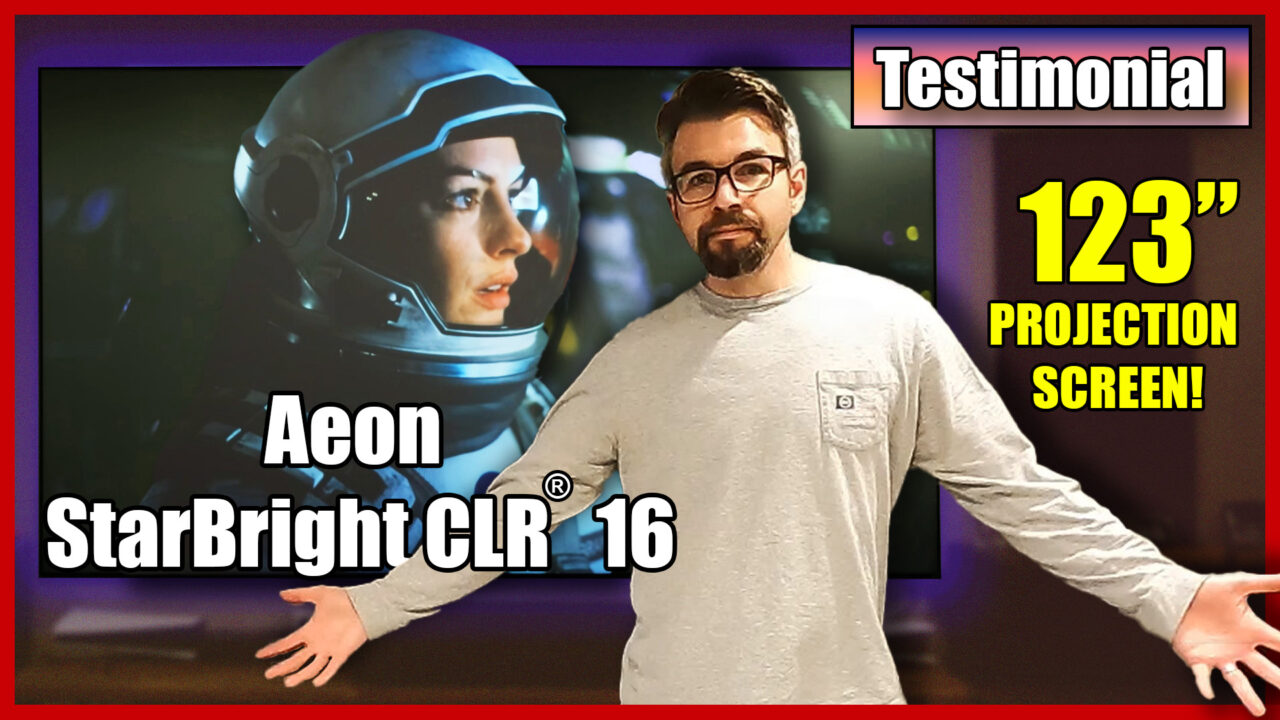
Aeon StarBright CLR® 16 Series Testimonial ⚡ Customer Satisfaction ⚡

Crystal Clear Brilliance: Exploring Elite Screens Aeon StarBright CLR® 16 Series

Aeon StarBright CLR® 16 Series Features

StarBright CLR® 16 Material Comparison

Screen Material

  • StarBright™ CLR® 16 angular-reflective front projection material for standard throw projectors
    • Not compatible with Ultra-short and Short-throw Projectors
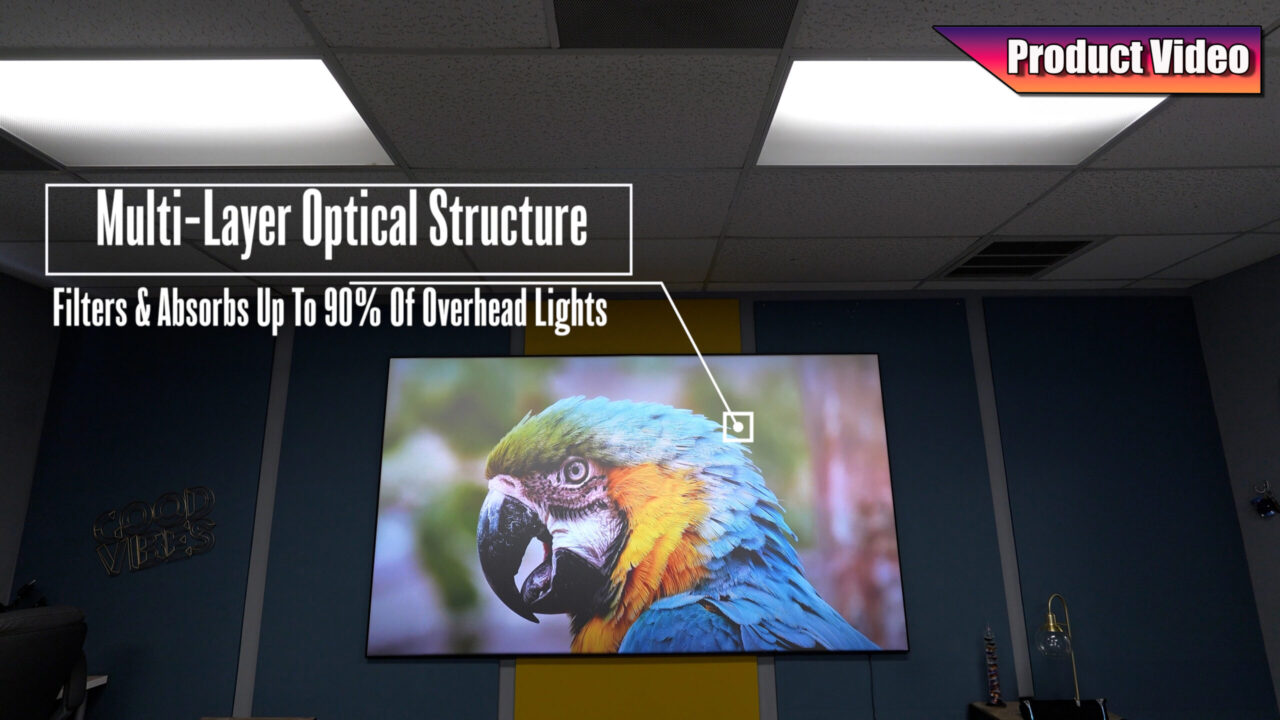
  • Ceiling Light Rejecting technology absorbs 90% of overhead lighting.
  • 1.65 Gain increases projector brightness to produce vibrant colors and high contrast images.
  • Multi-layer optical microstructure relies on UV-resin to filter and absorb light from above.
  • Smooth non-textured surface compatible with 4K/8K Ultra HD projectors.

Design and Installation

  • Sleek EDGE FREE® design maximizes viewing area into a smaller footprint.
  • Screen material wraps around over internal framework for a tight-tensioned flat projection surface.
  • Lightweight aluminum split-frame design for cost effective shipping and facilitates easy access to installation sites.
  • Ultra-thin black aluminum bezel protects and formats the projection surface while resembling a flat panel TV display.
  • Sliding wall mounting brackets are included which allow horizontal movement of screen to properly center for a perfect installation.
  • LED kit included with Infrared remote for mood lighting and room ambiance.

Quality and Reliability

  • 2-year limited warranty, and 3-year warranty for ENR-G – Education, Non-profit, Religious and Government/Military organizations
  • Lifetime Tech Support by Elite Screens Professional Service Team through Email, Phone or Online Form.

Please use the following installation instructions to obtain superior optical performance from the StarBright CLR® 16 (Ceiling/Ambient Light Rejecting) screen.

Make sure to follow these instructions for the StarBright CLR® 16 to perform correctly.

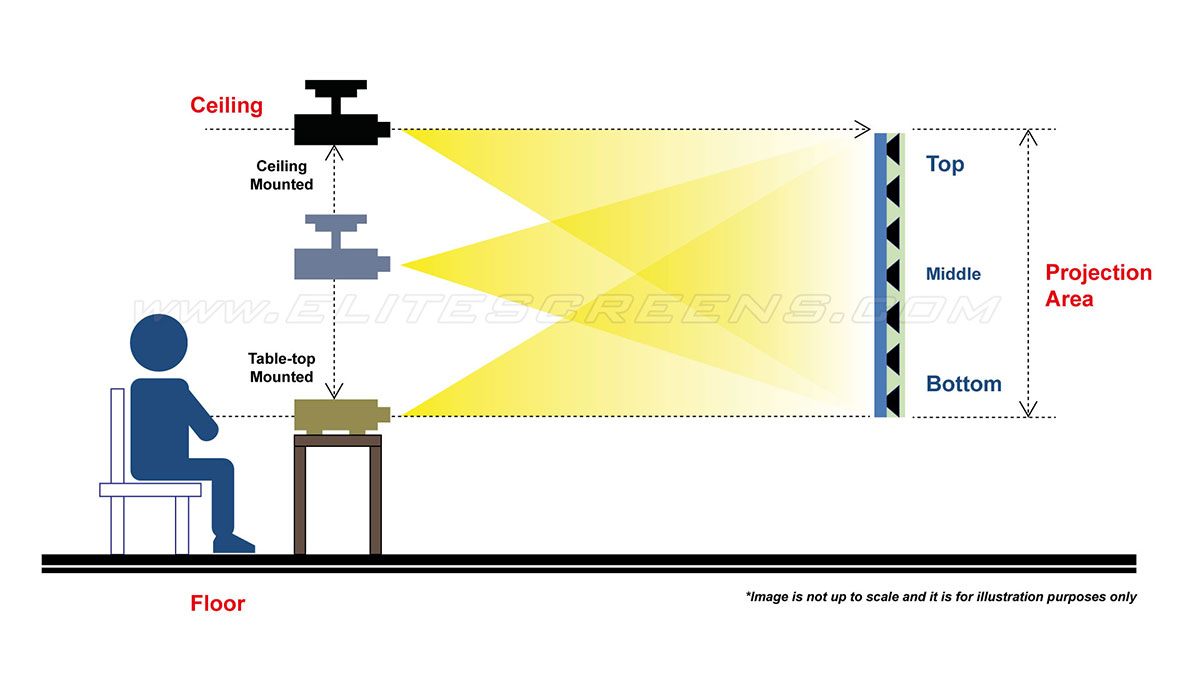
  1. Ambient light must not come from the same direction as the projector’s light
  2. For best results, standard throw projector must have a lens throw ratio of 1.35 or greater
  3. Not compatible with Ultra-Short and Short-throw projectors
  4. DO NOT install the projector higher or lower than the screen

Tip: Installing the projector in a 90-degree angle in the middle projection area will provide the best light dispersion for brightness uniformity.
Choosing The Right Sized Projection Screen

Selecting the Right Elite Screens Screen Material For Your Home Theater

Understanding ANSI Lumens & Screen Gain

Understanding Aspect Ratio & Resolution

4K/UltraHD: What You Need To Know

GreenGuard® Certification – Improving Human Health and Quality of Life

Projection Screen to HDTV Comparison

How To Perfectly Install ANY Projection Screen

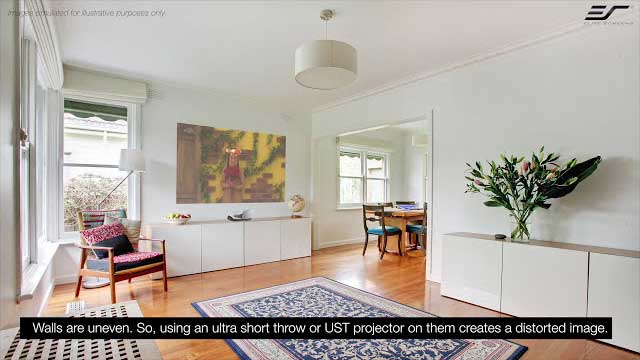
The Right Projection Screen for UST Projectors

Ceiling and Ambient Light Rejecting (CLR/ALR) Projection Screen Setup Guide

StarBright CLR® 16 – Screen Material FAQ’s

Q: What is the correct way to setup my StarBright CLR® 16 screen?

Please use the following installation instructions to obtain superior optical performance from the StarBright CLR® 16 (Ceiling/Ambient Light Rejecting) screen.
Make sure to follow these instructions for the StarBright CLR® 16 to perform correctly.

1. Ambient light must not come from the same direction as the projector’s light
2. For best results, standard throw projector must have a lens throw ratio of 1.35 or greater
3. Not compatible with Ultra-Short and Short-throw projectors
4. DO NOT install the projector higher or lower than the screen

Tip: Installing the projector in a 90-degree angle in the middle projection area will provide the best light dispersion for brightness uniformity.

Aeon Series FAQ’s

Q: I am assembling the Aeon Fixed Frame screen and do not see a hole for the center support however there is a center support bar included. How do I attach my center support bar?

There is a hex screw that must first be inserted on the back channel of the bottom and top frames. Then, the center support bar attaches to the hex screw.

Q: I’d like to buy an Aeon CLR® 3 screen but my UST projector is 120 inches. I notice that your screens are oversized by a few inches such as 103” versus 100” or 123” vs 120”. In my case for example, I do not want an empty screen section, but the image to go all the way to the border of the screen. Can you advise?

Most ultra-short throw projectors despite claiming they can go up to a certain size, if they have a focus adjustment should be able to adjust the picture to 103” (if a 100” UST projector) or 123” (if a 120” UST projector) and fill in the entire screen area. In some cases, certain UST projectors that have a fixed focus lens can go up to 103” and 123” with minimal impact on the picture and allowing to fill in the screen size.

Q: What are the model numbers for replacement screen material for my fixed frame screen?
Q. What are the model numbers for replacement screen material for my fixed frame screen?

Elite Screens offers replacement materials for 4:3, 16:9, and 2.35:1 fixed frame screens.

Decoding the model number: ZR92WH1-M

ZR- Sable Frame / ezFrame Series Replacement Material
92= Diagonal Size of 92″
W= CineWhite
H= 16:9 Aspect Ratio (V= 4:3, Wide= 2.35:1)
-M = Screen Type

ZAR : Aeon Series Replacement Material
Z-SBSF : Sable Frame B2 Series Replacement Material

Shop links : Sable Frame / ezFrame Series Materials, Aeon Series Materials, Sable Frame B2 Series Materials

General Fixed Frame Screens FAQ’s

Q: What is the advantage of having a black velvet covered frame?
Q. What is the advantage of having a black velvet covered frame?

In addition to an appealing aesthetic appearance, the advantage of having a black velvet covered frame is to help absorb projector overshoot.

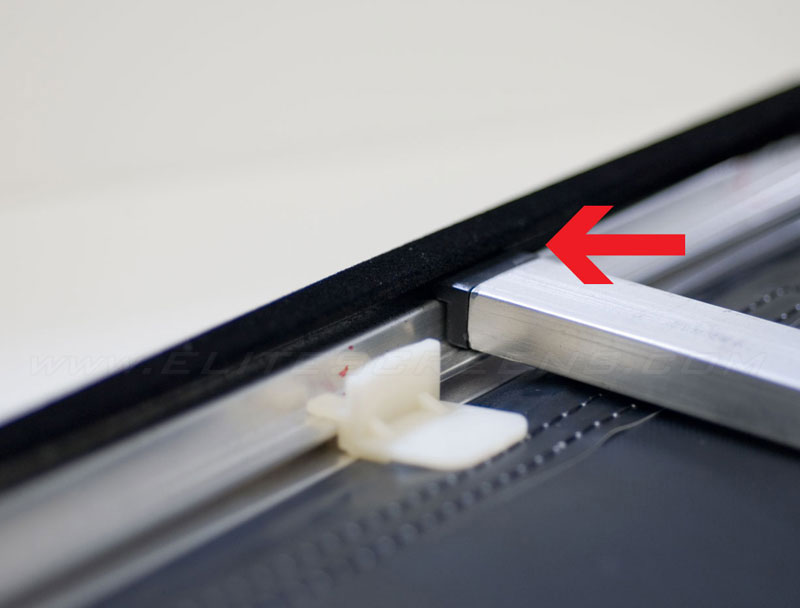
Q: Where do I place the center support bar for a fixed frame screen?

Center support bar for larger size fixed frame screens goes inside the top of the groove located on the back of the frame.

Center support bar

Q : Can I flush mount my fixed frame screen directly to the wall/ceiling? I would like the top of the frame to be exactly where the ceiling and wall meet.

Elite Screens does not recommend attempting such an installation as in most cases it would not be possible. This is because the frame has to be lifted directly above and then placed down onto the brackets. The brackets will then latch onto the grooves of the frame and hold it in place. Mounting the wall brackets flush to the wall and ceiling would not provide the clearance needed for the frame to be lifted above the brackets. Elite Screens recommends the wall brackets be placed no closer than 4-6”(depending on the thickness of the frame) below the ceiling as that ditstance would give you the clearance needed to lift the screen above and then onto the brackets.

Browse All FAQ Articles

2-year limited warranty, and 3-year warranty for ENR-G – Education, Non-profit, Religious and Government/Military organizations

Lifetime Tech Support by Elite Screens Professional Service Team through Email, Phone or Online Form.